Create segments
Contents
Learn how to create segments that identify and classify customers based on their shared behavior and characteristics.
Prerequisites
- Configure the following permissions in Genesys Cloud:
- Journey > Segment >Add , Delete, Edit, View
Search for segments
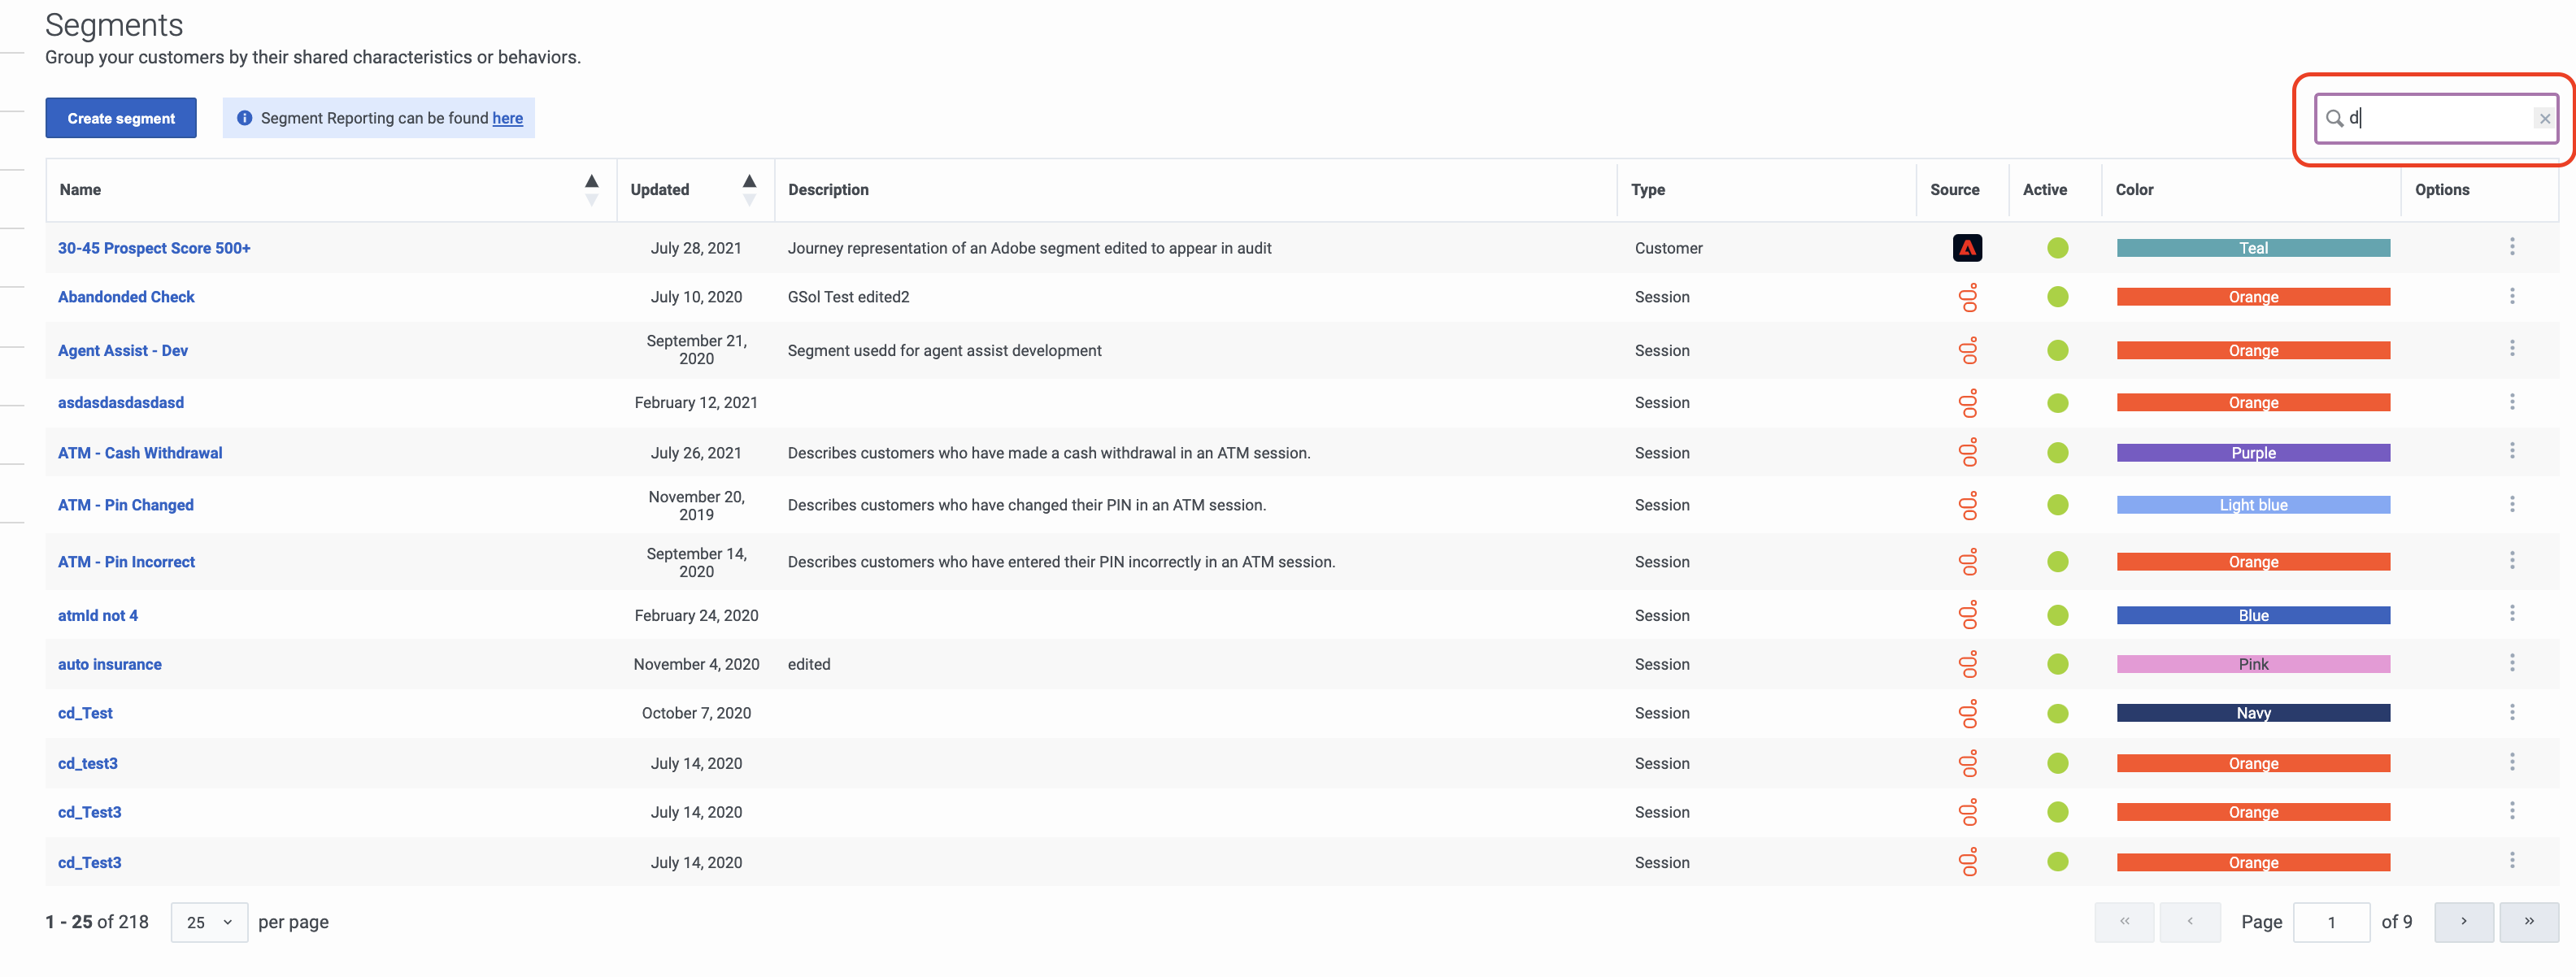
Type one or more characters (not case-sensitive) for which to search. As you type, only the segments that match your criteria appear in the list.
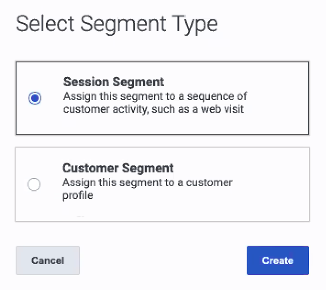
A column heading with an arrow indicates that you can click the arrow to sort the list by that entity. An upward-pointing arrow indicates that the list is in ascending order and a downward-pointing arrow indicates that the list is in descending order.Select segment type
Create a segment
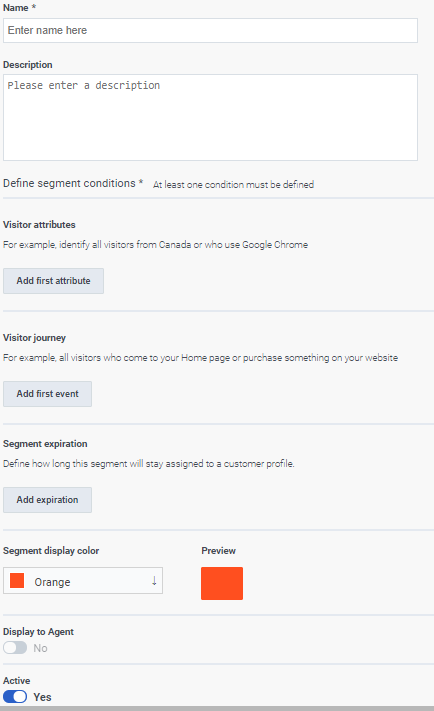
- Provide a descriptive name
- Define conditions for at least one of the following attributes:
- Select a display color for the segment.
- You must specify at least one condition.
- If you specify multiple conditions, the segment matches a user only when all the conditions match.
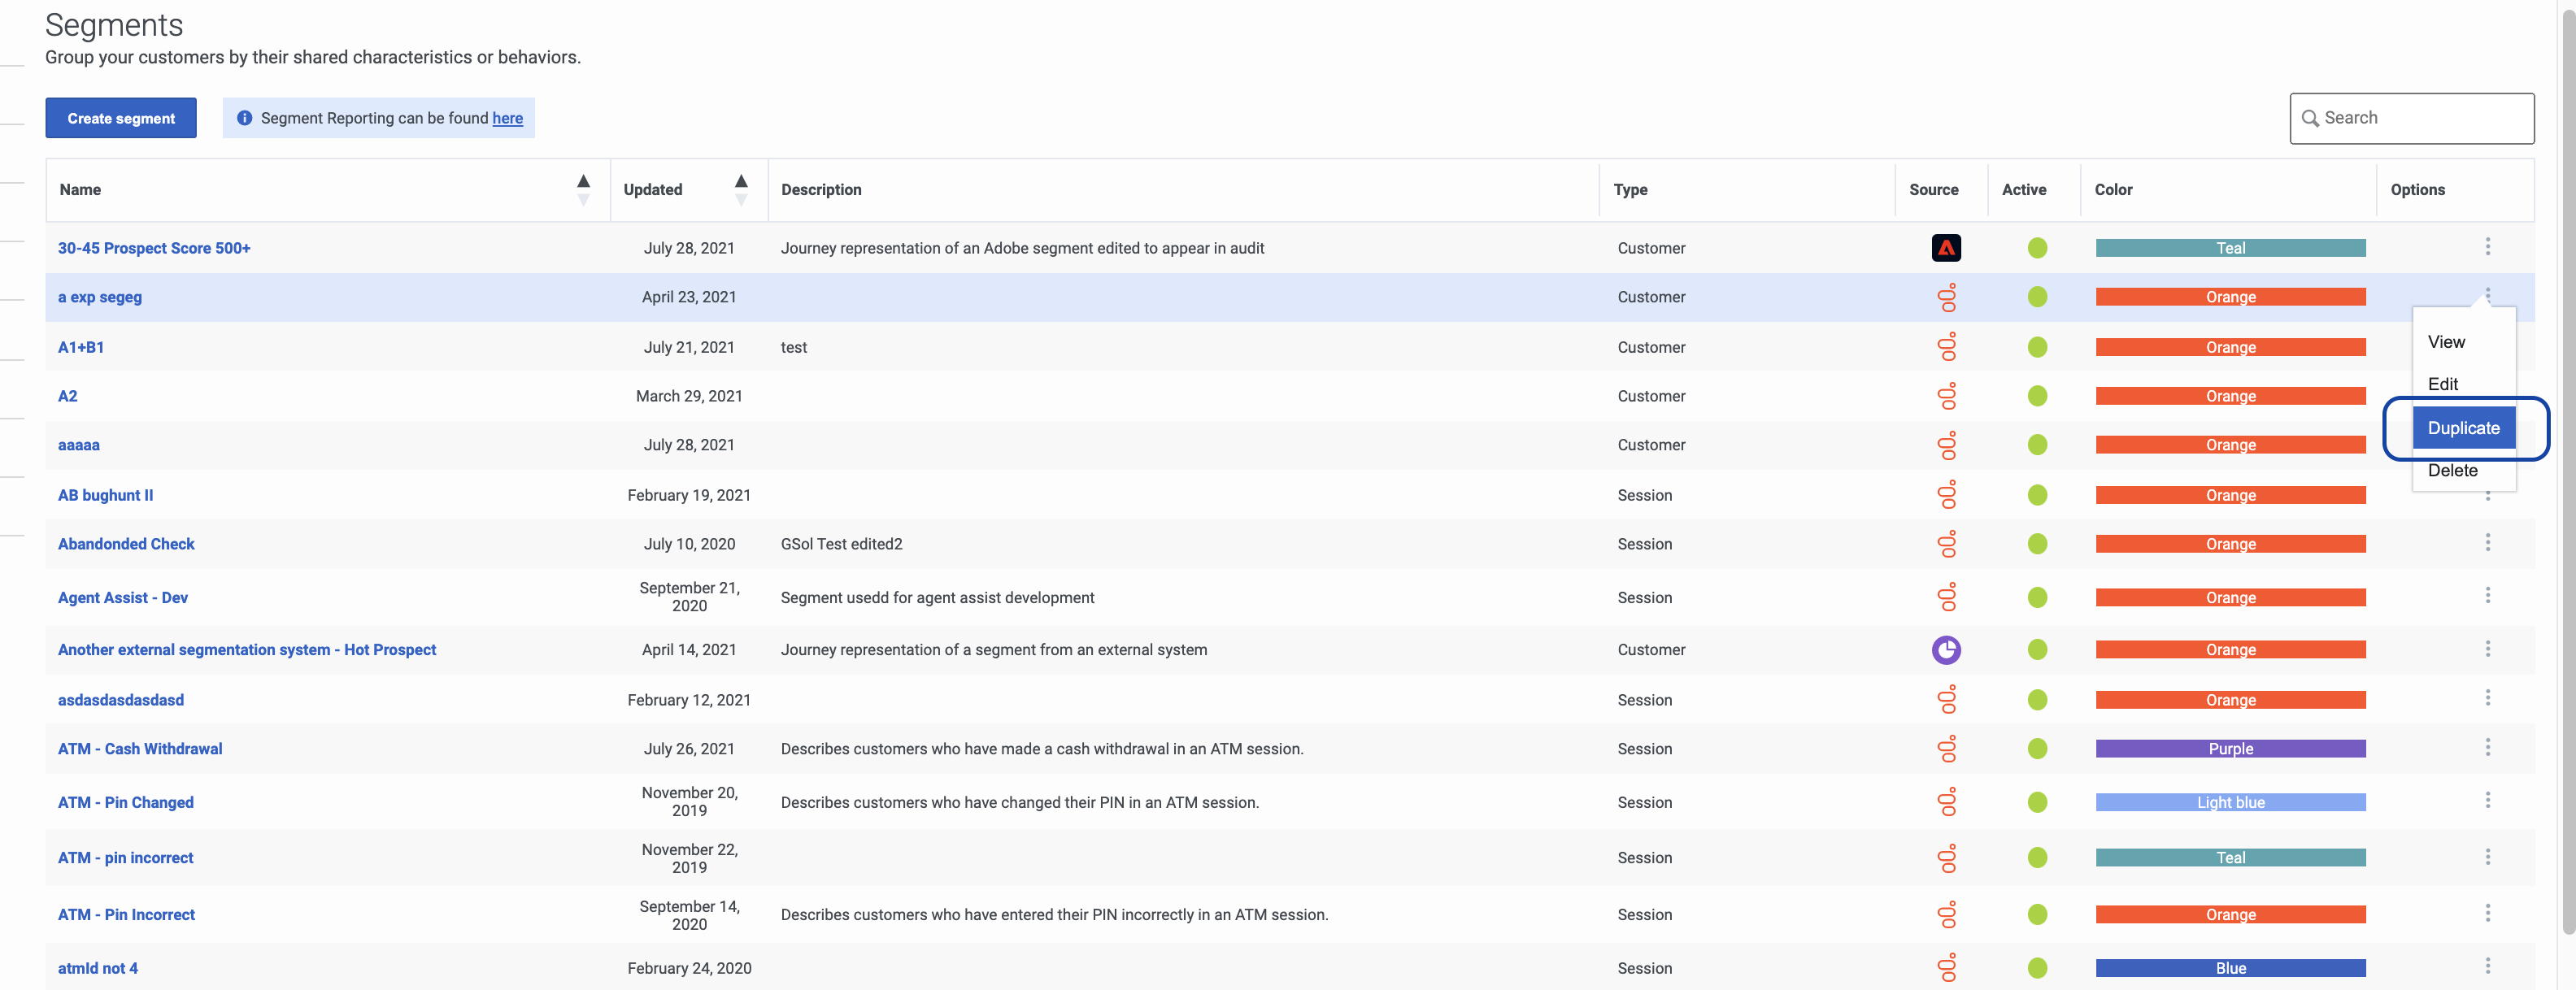
Duplicate a segment
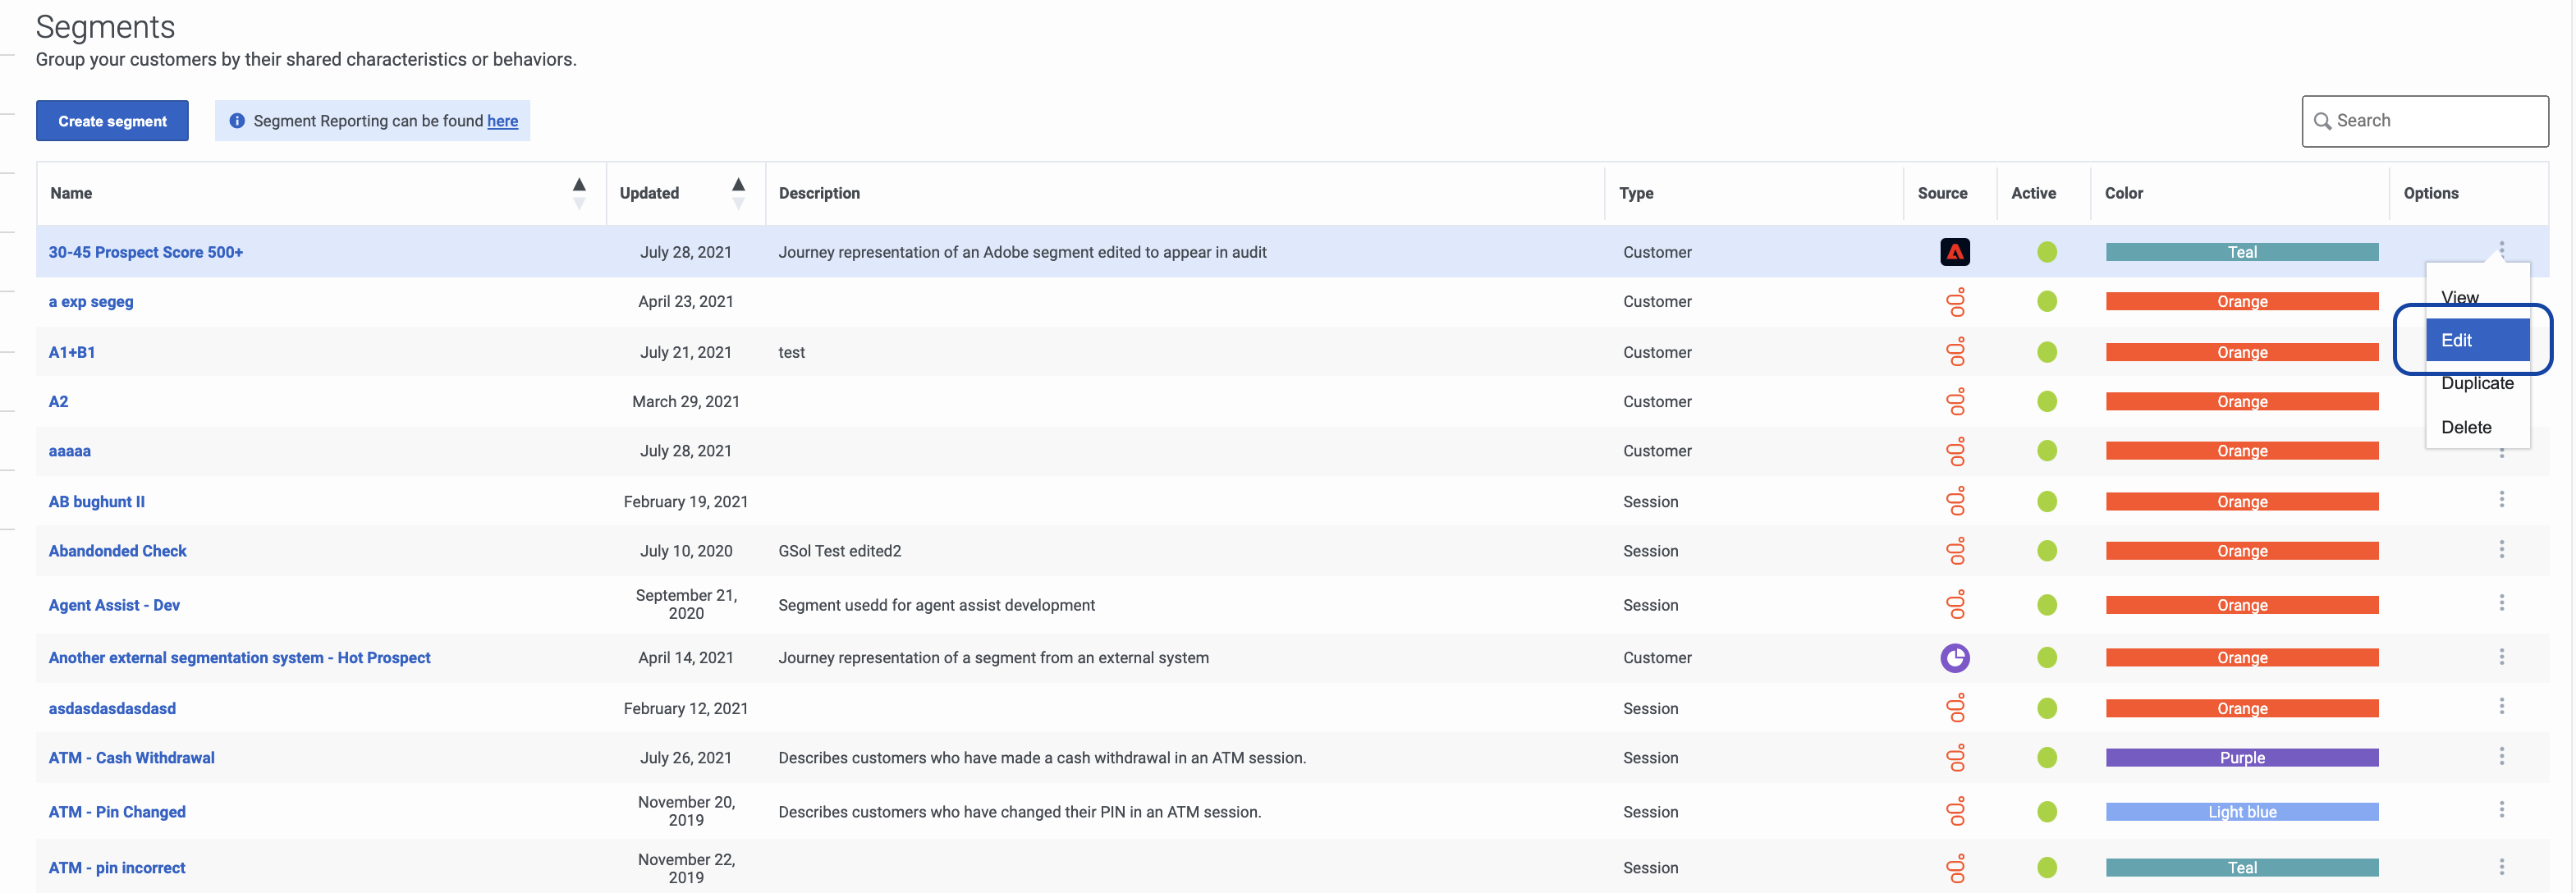
Edit a segment
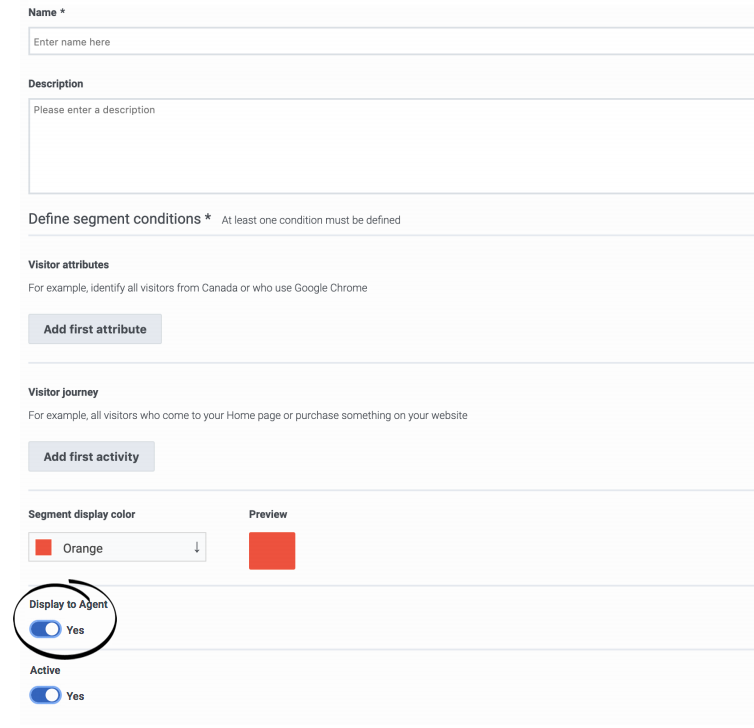
Display to agent
Agents can see when Genesys Predictive Engagement matches visitors to a segment. However, not all segments are relevant to all agents. For example, a segment that matches based on a visitor's search for a specific product that an agent does not support. Or, a segment that matches based on sensitive personal data or data that an agent should not see because of privacy restrictions.
For session segments only, the segment displays to agents by default. To prevent agents from seeing a segment, slide the toggle to No.Activate or deactivate a segment
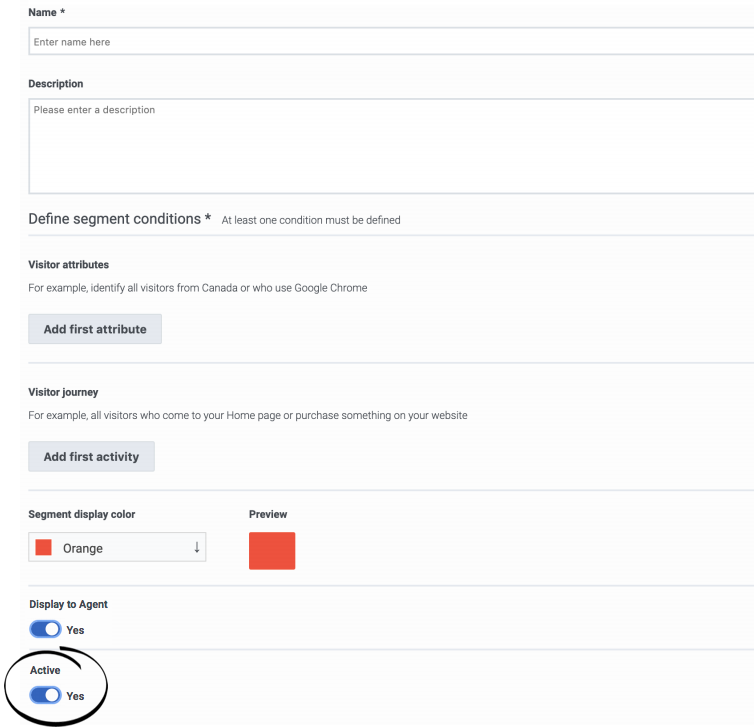
Segments are active by default. When a segment is active, it is ready to match visitors on your web site. To deactivate a segment temporarily from matching, slide the toggle to No.

