Use action maps to trigger an advanced orchestration flow
From Genesys Documentation
This topic is part of the manual Genesys Predictive Engagement Administrator's Guide for version Current of Genesys Predictive Engagement.
Contents
Configure an action map to use an advanced orchestration flow action.
Prerequisites
- Configure the following permissions in Genesys Cloud CX:
- Architect > Flow > Search (to select an Architect flow action for an action map)
- Journey > Event Type > View (to configure an action map with an event trigger)
- Journey > Action Map > Add, Delete, Edit, and View
Using the advanced orchestration flow action, you can route interactions to a specified bot or queue or to a third-party system based on the behaviour of the visitor.
Configure an action map to use an inbound web message flow
Using the inbound message flow action, you can route the messages to a custom flow or to trigger a bot flow. Using the bot flow, you can create different workflows for different customer behaviours. This removes the requirement to have a single architect flow for all types of customers.
- Prepare an inbound message flow or a bot flow and create an action map to use the inbound message flow.
- In the Set up an Action pane, click Configure Trigger Type.
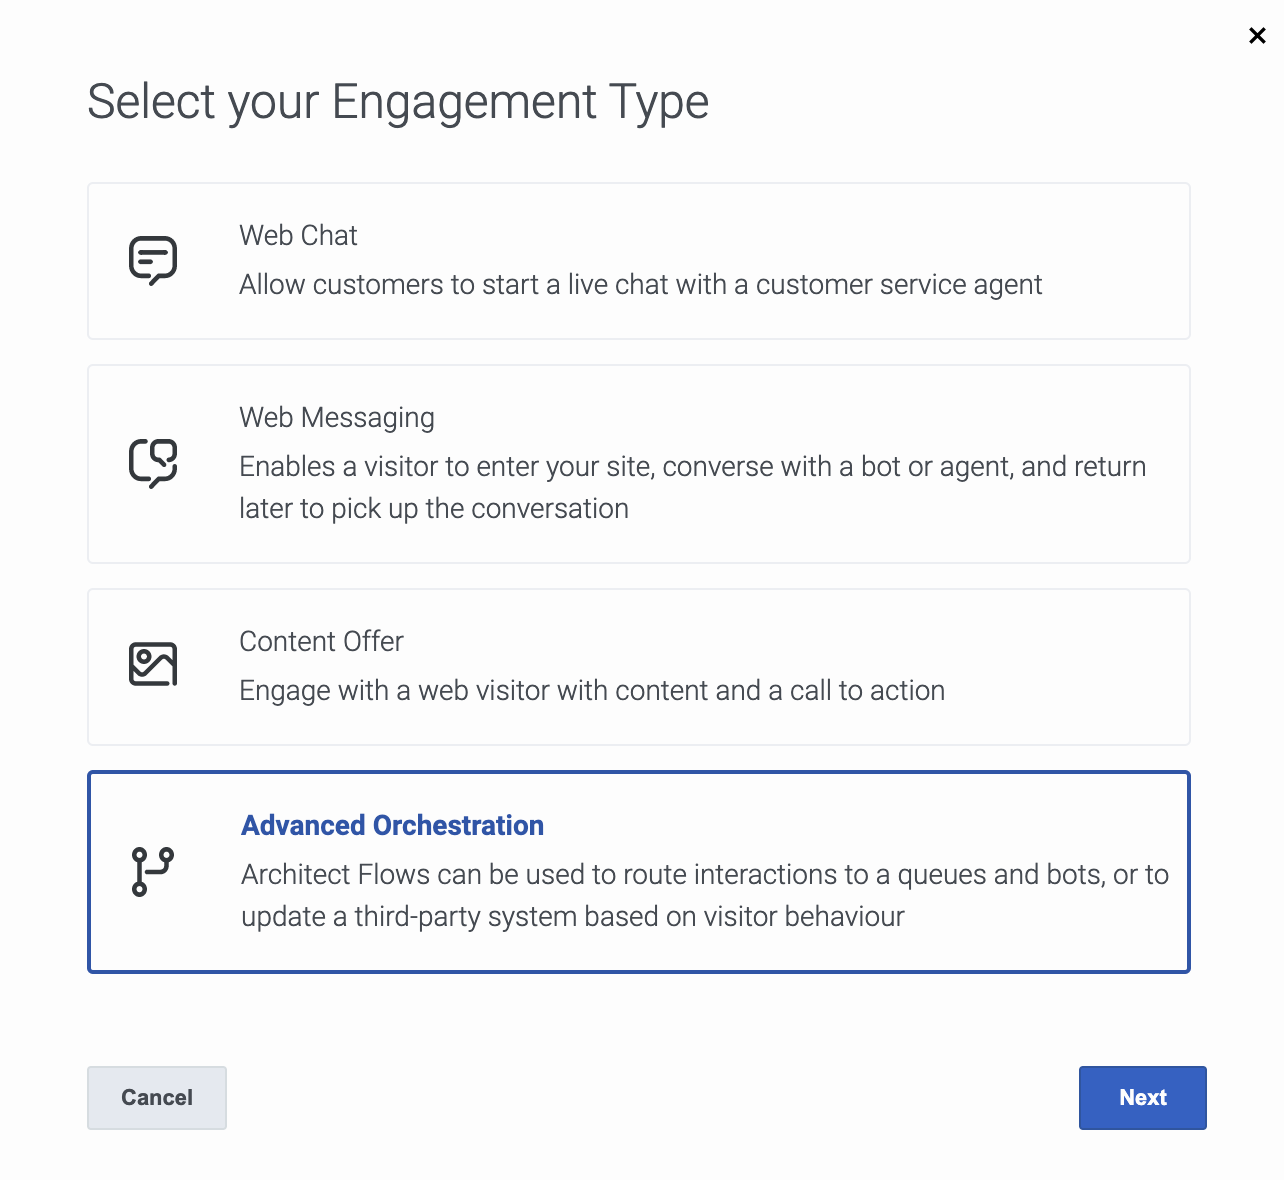
- Select the advanced orchestration action and then click Inbound message flow.
- Select an inbound message flow to which you need the information routed.
- Click Done.
Configure an action map to use an Architect flow
- Prepare an Architect flow, create an action map to use the Architect flow.
- In the Set up an Action pane, and click Configure Trigger Type.
- Select the advanced orchestration action and then click Architect flow.
- Select the Architect flow to use with this action map. For more information about creating flows, see Prepare Architect components.
- Override the default variables. Each data action that the Architect flow calls contains variables that are not set by default. These variables are placeholders that you can populate with visitor-specific data. For more information, see, Overrides for Salesforce Lead Creation and Campaign Attribution integration.
- Specify when to activate the Architect flow action and the time period during which to use it.
- Activation time
- Immediately: Activate the Architect flow action as soon as a visitor arrives on your website.
- On return to site: Activate the Architect flow action when a visitor returns to your website.
- Time range: Time period to use the Architect flow action. To use the Architect flow action indefinitely, don't specify an end date.
- Activation time
- Click Finish.
Important
Action maps configured to trigger an Architect flow on visitor activity alone trigger as many times per session as the visitor activity occurs. For all other trigger conditions, the Architect flow only triggers once per session when the conditions are first satisfied.Go-live checklist
When you are ready to go live with your integration, verify the following items:
- In Genesys Predictive Engagement, is the action map that uses the Architect flow action active?
- In Genesys Cloud CX:
- Is the Genesys Cloud CX integration assigned to the Architect flow action active?
- Are the Genesys Cloud CX data actions published?
- In Architect, is the workflow saved and published?
Comments or questions about this documentation? Contact us for support!


