Filters
Learn more about how to use filters in dashboards.
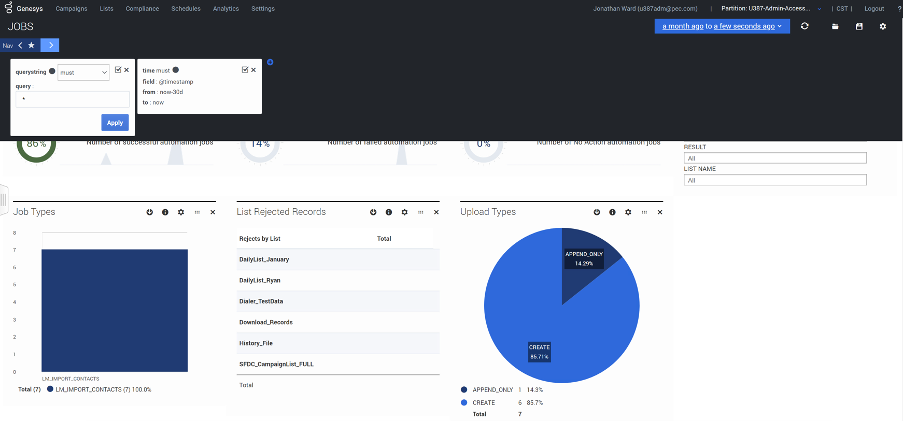
Use filters to drill down to specific information that you want to be displayed on the dashboard. You can manually create filters and specify conditions using a query language to retrieve specific results.
- On the top navigation bar, use the toggle to open or close the filter dialog.
- Click the plus button to add a new filter. You can create multiple filters that use a query string to display corresponding results.
- In the querystring field, select a condition for the query. The options are: must, mustNot, or either.
- In the query field, enter a query, and then click Apply to filter data on the dashboard. There is no limit to the length for a query string.
For example, the following combinations of querystring and query fields filter data with missing fields:
- querystring = mustNot and query = fieldName:””
- querystring = mustNot and query = fieldName:(*) => objectType:””
- querystring = mustNot and query = fieldName:(*) => objectType:(*)
Similarly, the following syntax filters data with fields that have values in them:
- querystring = must and query = fieldName:(*) => objectType:(*)
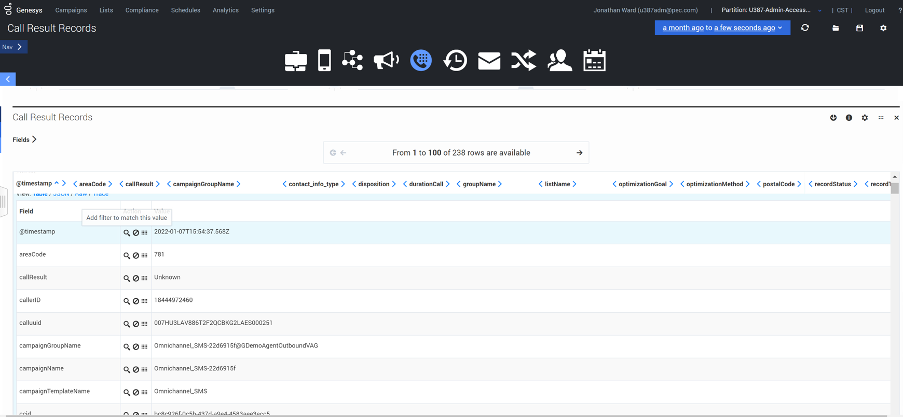
You can also filter data in the dashboard using field names. Select a row in the tabular panel of a dashboard, and then click the magnifying glass icon to filter data that matches the field value. A filter is automatically created in the top navigation bar. You can further modify the query in the filter to get specific or granular level data.


