Templates
Create templates to enable you to create and provision agents efficiently.
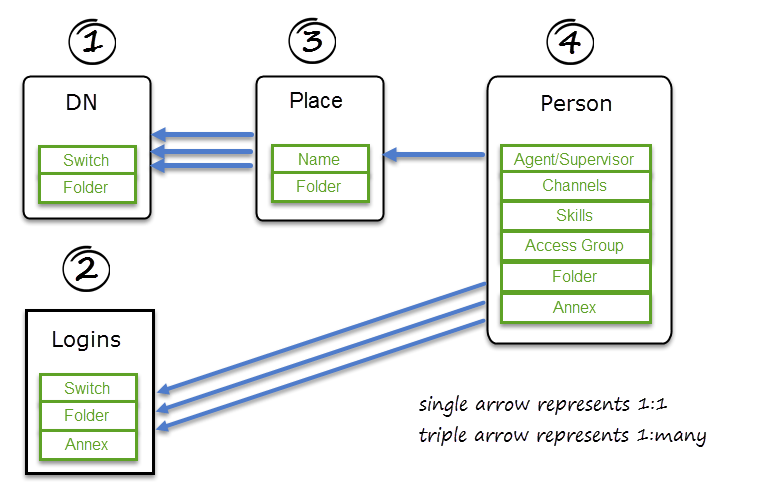
Templates allow you to create a set of configuration options that you can apply to agent accounts when you add an agent. The following diagram shows the relationship between the templates and the sequence in which the templates must be created:
Access the Templates tabs on the Contact Center Settings page.
To add a template, select a template type, and then click Add. For each template you create, ensure that you give the template a unique name.
To configure a specific template, click on the Template Name and make your intended changes.
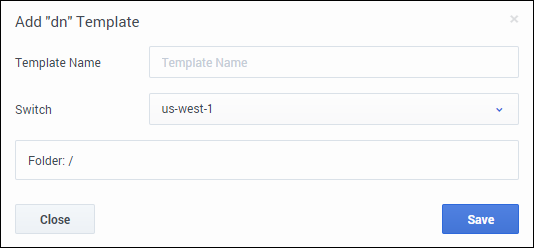
DN template
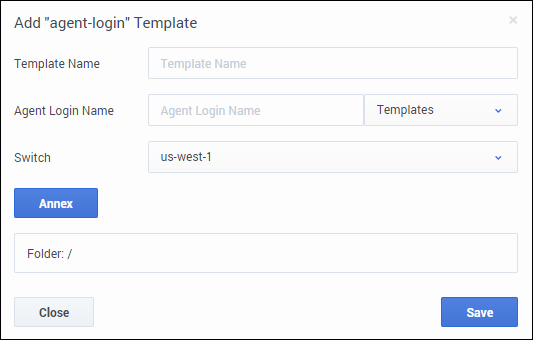
Login template
Agent Login Templates specify the switch, folder, and annex options.
In the Agent Login Name field, you can use a variable to specify the contents of the field, for example, {{person.userName}}.
Person Templates
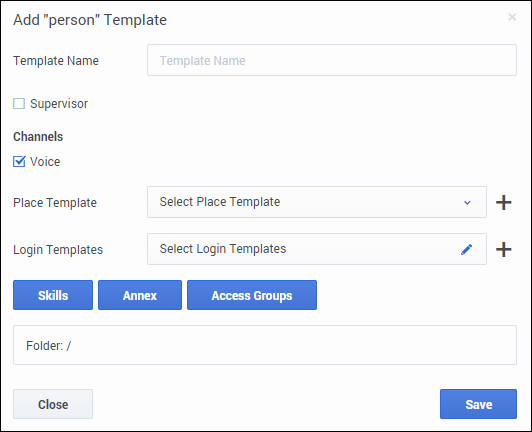
Person Templates define properties such as Channels, Skills, Access Groups, Annex options, folder, and Supervisor role for newly created agents.
You also need to select a place template and one or more login templates. Then you can select the channels, skills, annex, and access groups that you want to apply to this template. Before you save the Person template, select the folder where the user is created.
Place template
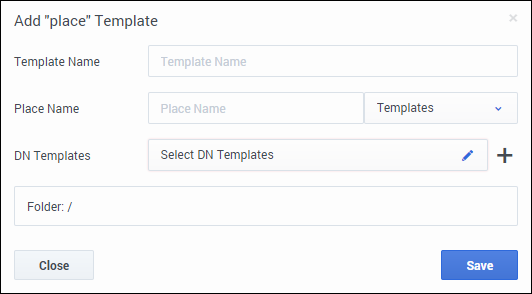
Place Templates must contain one or more DN Templates.
If your contact center has a requirement to specify unique place names for different business groups or regions, type a place name variable. For example, the place name might be the same as the agent's phone number or as the agent's user name. Place names can contain the following variables:
- {{person.userName}}
- {{person.emailAddress}}
- {{phone.number}}
- {{phone.description}}
- {{phone.index}}
You can also combine variables. For example: {{person.userName}}-{{phone.index}} creates JohnAppleseed-1 and JohnAppleseed-2 if JohnAppleseed has two phone numbers.
Next Steps
Now that you have set up templates, you can proceed to provision your contact center with agents. See Manage agents and other users.

