Difference between revisions of "PEC-OU/Current/CXContact/GetStarted"
(Published) |
(Published) |
||
| Line 1: | Line 1: | ||
{{GetStarted | {{GetStarted | ||
| − | |DisplayName=Get started | + | |DisplayName=Get started with CX Contact |
|Role=Administrator | |Role=Administrator | ||
|TocName=Get started | |TocName=Get started | ||
Revision as of 01:00, June 9, 2020
Learn how to get started with the CX Contact application.
Contents
CX Contact is an outbound campaign management application used to create, manage, and monitor outbound voice, SMS, and email campaigns.
CX Contact's intuitive web-based application enables you to run, manage, and monitor Outbound voice, SMS, and email campaigns. The video below explains some of its core capabilities.
Access the application[edit source]
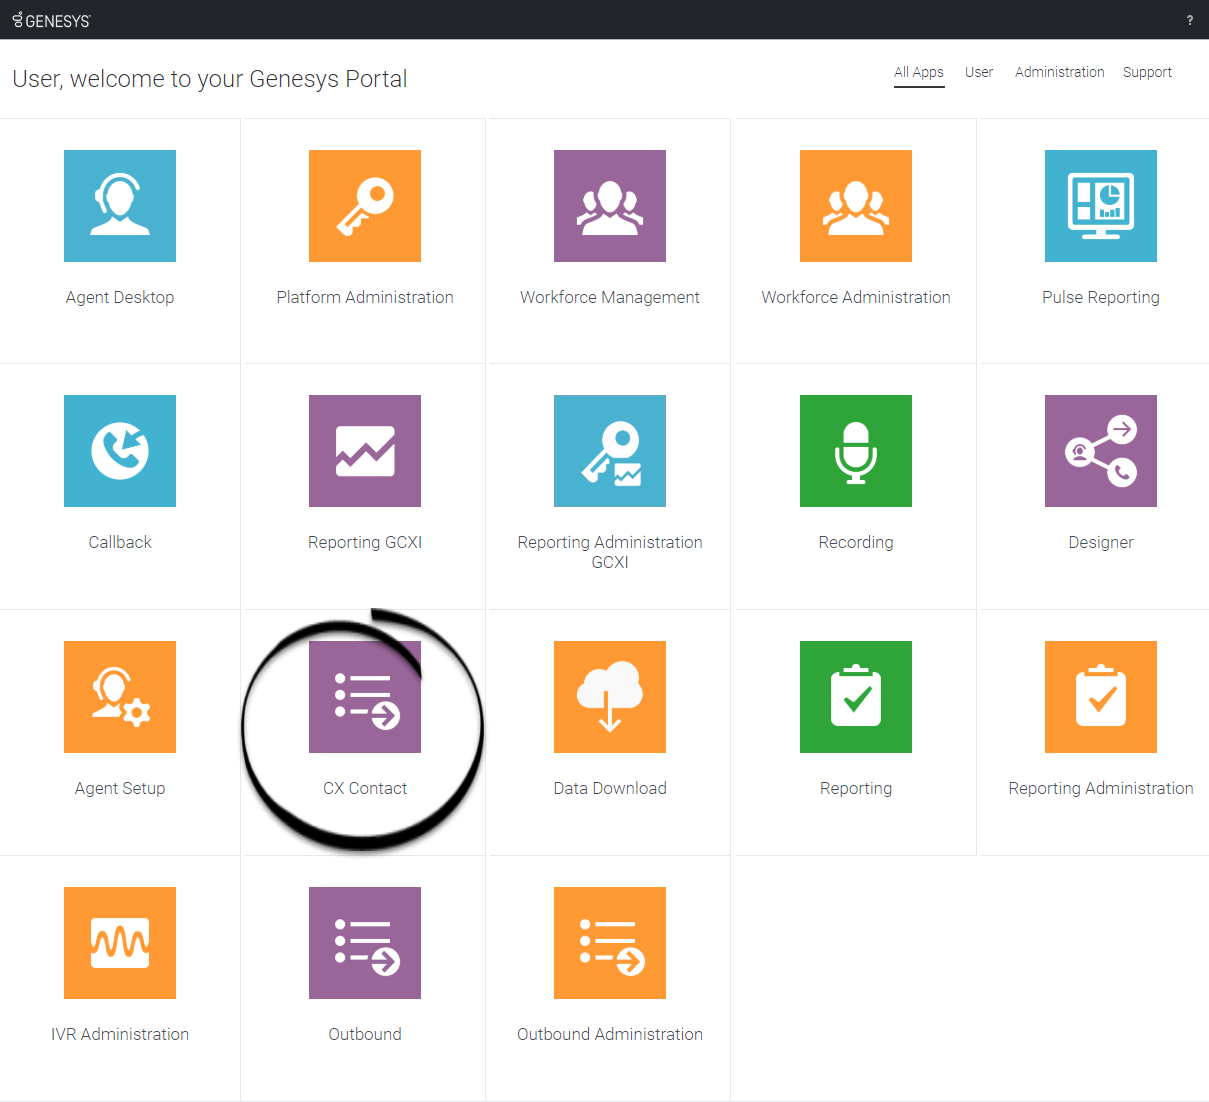
Once your Genesys Multicloud CX environment is up and running and you've checked that you meet the necessary requirements, log in to your Genesys Portal to access CX Contact. Click the CX Contact icon and enter your username and password.
Walk through the application
The CX Contact user interface is broken up into five tabs, each handling a set of tasks. This section gives a brief overview of each tab.
Campaigns tab
Use the Campaigns tab to handle all tasks related to the configuration and management of campaigns, including:
- Set up and manage dialing profiles, campaign templates, and campaign groups.
- Define call treatments.
- View campaign statistics in real-time.
Lists tab
Use the Lists tab to create and work with contact lists. Key capabilities include the following:
- apply upload rules to a list
- create list automation jobs
- create list labeling schemas
- create data mapping schemas
Compliance tab
Use the Compliance tab to restrict contact attempts to records within a contact list and import or manage contact suppression lists.
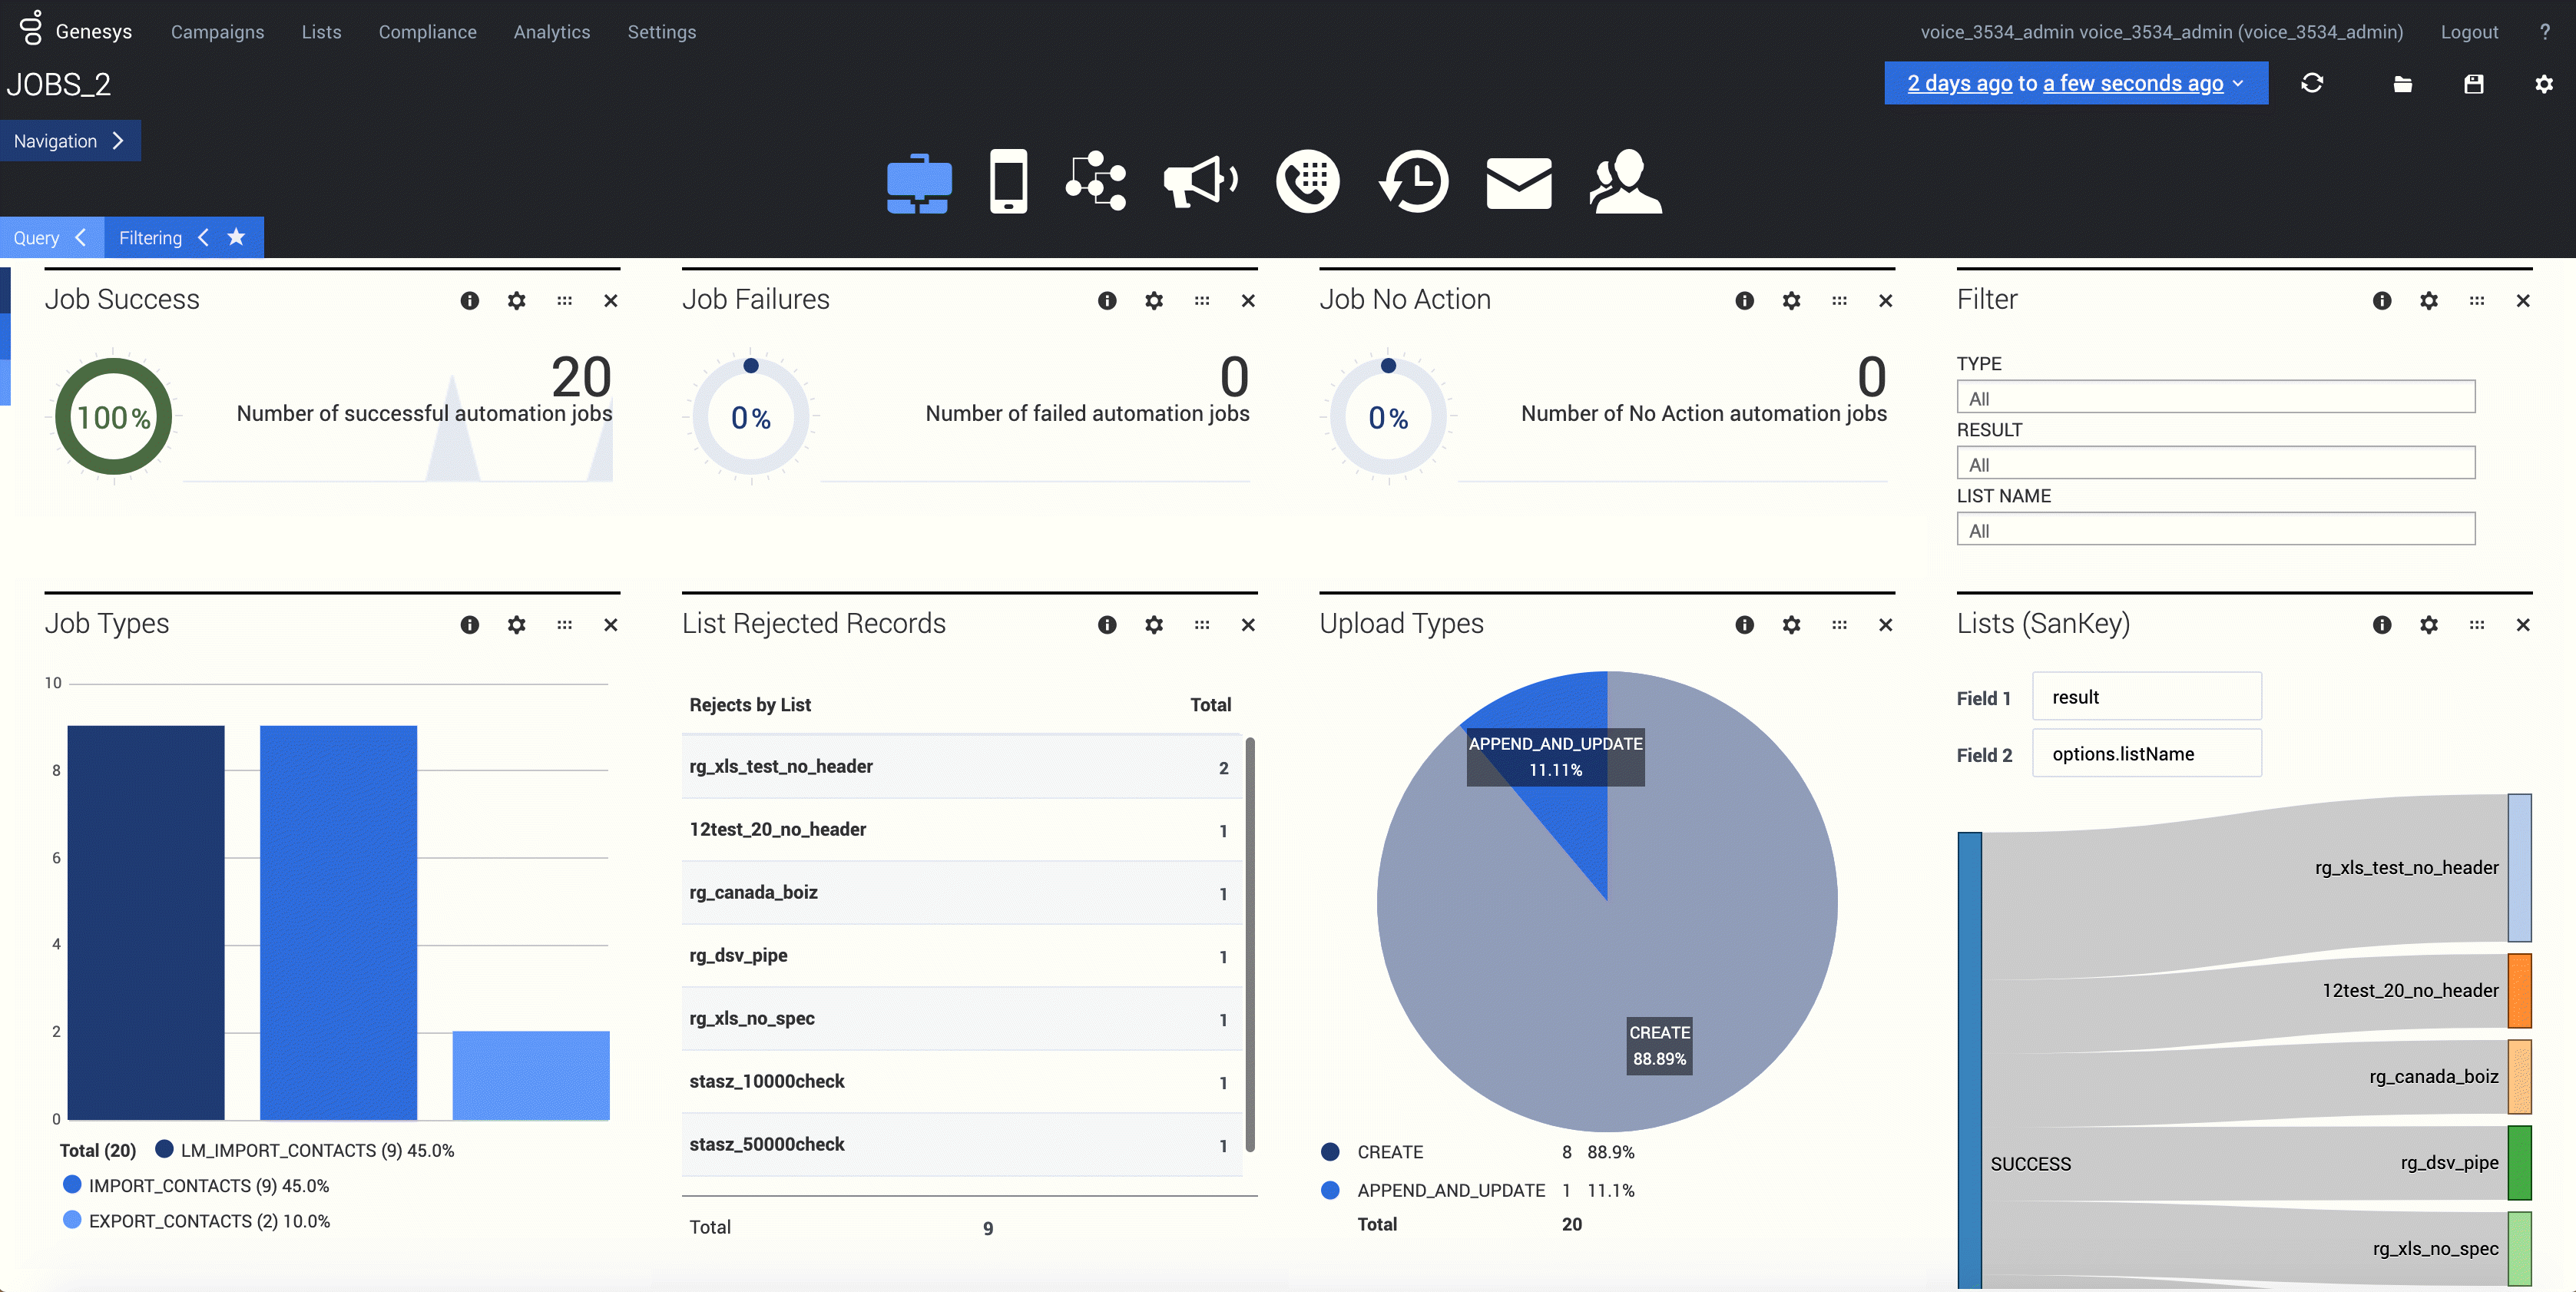
Analytics tab
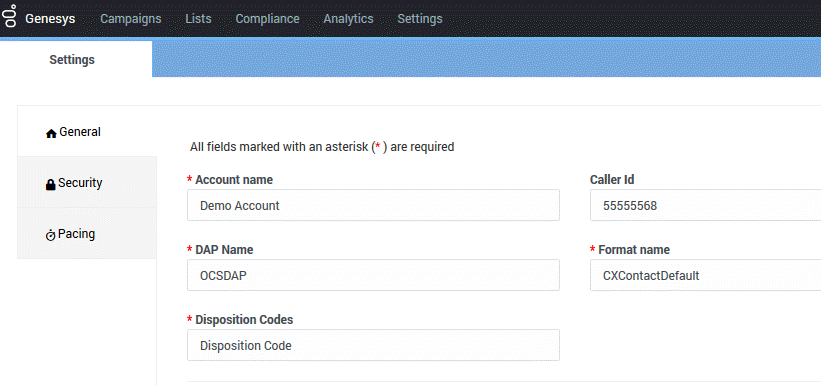
Settings tab
Use the Settings tab to apply or manage the following global application settings:
- General
- Pacing
- Security


