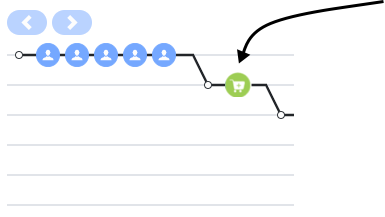
Display icons in the Journey gadget
From Genesys Documentation
This topic is part of the manual Journey JavaScript SDK for version Current of Genesys Predictive Engagement.
Contents
Learn how to use the SDK to display icons for tracked visitor behavior on the Journey map.
Important
This article only applies to customers using web chat. If you are a Genesys Cloud CX customer, we encourage you to use the new web messaging feature to replace web chat.About the icons
Use the ac('record') method to display a Genesys Predictive Engagement icon on the Visit journey map (admin view) when a visitor completes a tracked behavior.
Available icons
Code example
This code example shows how to use
ac('record') to display the Product added icon in the Visit journey map (admin view) when a visitor adds a t-shirt to their shopping cart.ac('record', 'product_added', [optionalExtraDataObject]
ac('record', 'product_added', { name: 't-shirt', id: 'hkds9d8j', price: '$45.45' });Purchase-related icons
Form-related icons
Important
You can display the icons in this section using ac('record') or auto form tracking.| Icon | Tooltip text | Description | Name |
|---|---|---|---|

|
Form submitted | Visitor submitted a form. | "form_submitted" |

|
Form abandoned | Visitor navigated away from a form before completing it. | "form_abandoned" |
Miscellaneous icons
Comments or questions about this documentation? Contact us for support!


