How to configure the Workflow Designer
Steps to configure the Workflow Designer.
Creating a new unmanaged solution
Unlike the Workflow Designer installation, which is deployed with the managed solution, to enable the Gplus Adapter for Microsoft Dynamics 365 to work with the Workflow Designer, you have to create a new unmanaged solution based on the following JavaScript file:
- <prefix>_workflows.js
Follow this procedure.
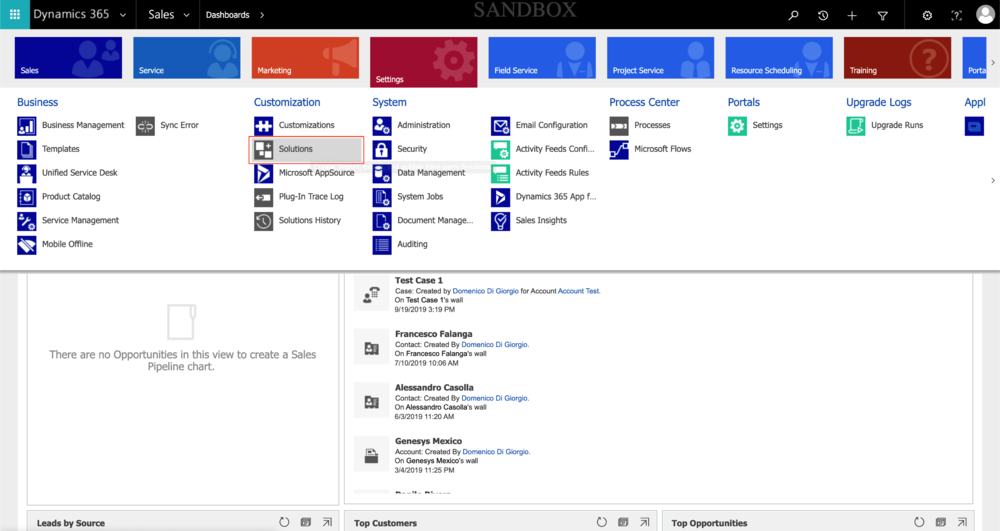
Go in Settings and select Solutions from the Customization menu.
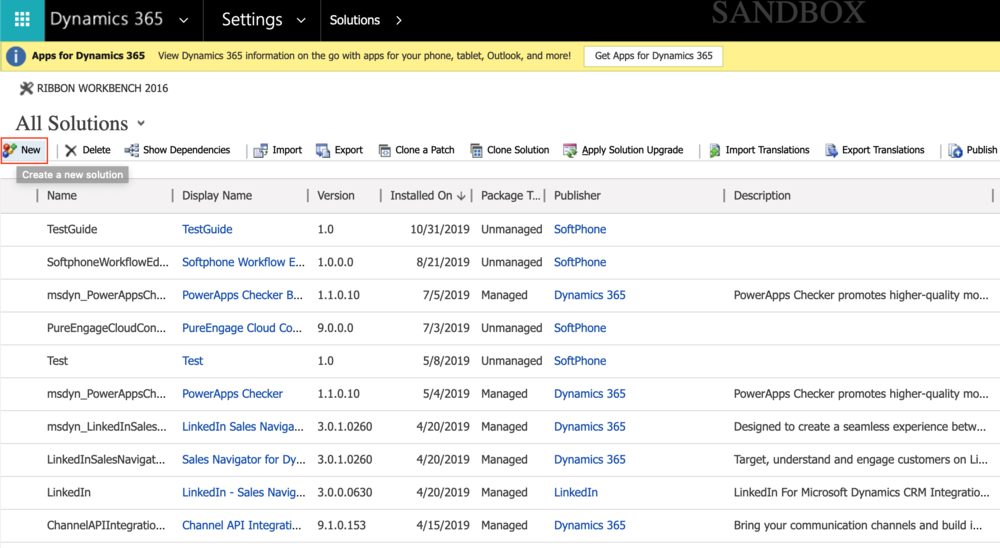
Click New to create a new solution.
Fill out the required fields of the new solution:
- Display Name: your choice
- Name: you can employ the same name provided in the Display Name field
- Publisher: search for the name of your organization or agent group
- Version: your choice
Click Save.
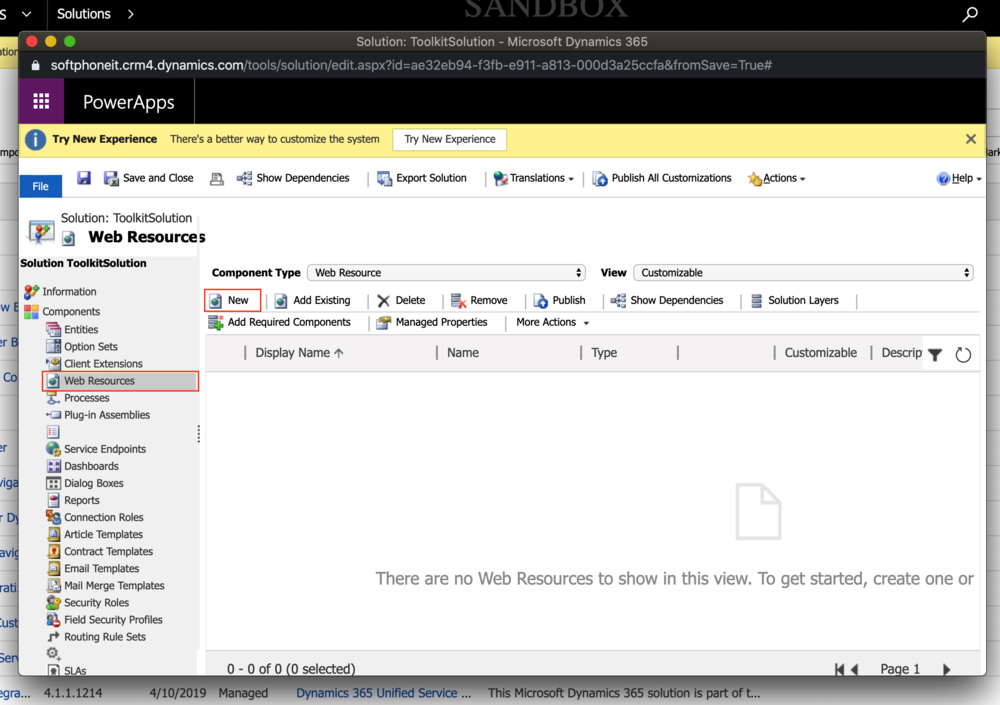
Go to Web Resources and click New.
Fill out the required fields of the new web resource:
- Name: <prefix>_workflows.js
- Type: select Script (JScript) from the drop-down menu
Click Text Editor and just type a space.
Click Save and then Publish to finalize the procedure.
Configuring the Workflow Editor App
To finalize the configuration, follow these steps:
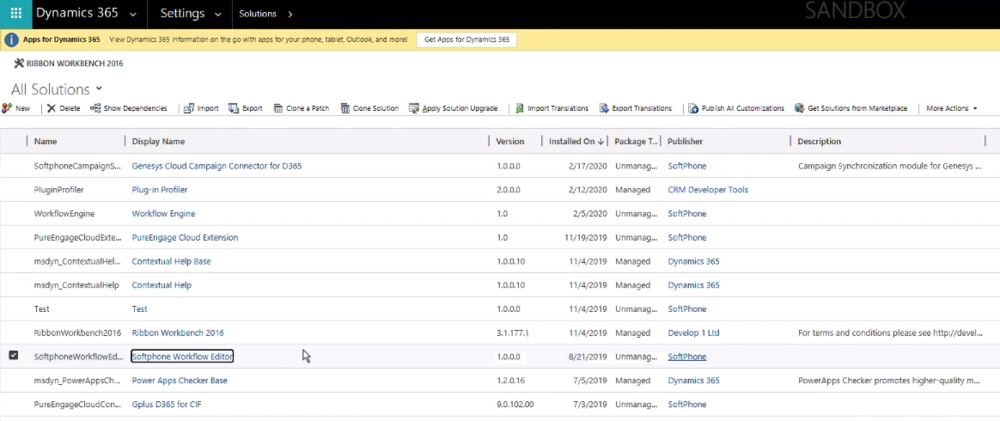
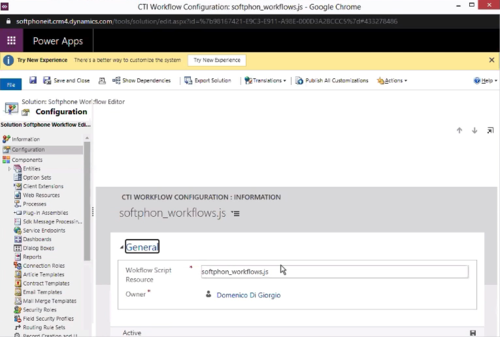
Go back to Solutions and click the imported Softphone Workflow Editor: a new configuration window appears.
Insert your customized <prefix>_workflows.js as the Workflow Script Resource.
Open the CIF application by clicking the Microsoft Dynamics 365 list menu and selecting Channel Integration Framework.
Select WWE and make sure that its parameters are set as follows:
- Name: WWE
- Label: Gplus Adapter for MS Dynamics 365
- Channel URL: "https://<DynamicsDomain>/webresources/softphon_index_wwe.html"
- Enable Outbound Communication: Yes
- Channel Order: 5
- API Version: 1.0
- Trusted Domain:
- Custom Parameters: {"CustomFlow": false, "CustomPrefix": "softphon", "MakeCall": true, "InstanceURL": https://<GenesysURL>, "logo": "/webresources/softphon_microsoft.png", "Width": 450, "Language": "en-US", "UseWorkflowEngine": true, "CustomWorkflowMakeCall": true}
Continue to How to use the Workflow Designer to learn about its functioning.

