
Downloading your Genesys Multicloud CX containers
Contents
Genesys Multicloud CX containers are accessible through JFrog. You can also automate downloads to set up a Continuous Delivery (CD) pipeline.
Overview
Genesys uses JFrog to deliver and distribute its release containers. JFrog is a hybrid, universal, end-to-end devops platform. It is a fully automated platform for distributing software releases from code to production. You can pull new releases from the JFrog Artifactory Edge repository.
Genesys Engage will deprecate the JFrog Edge on June 15, 2024. Please contact your Genesys Account Representative if your organization requires access to the new utility.
- Artifactory Edge Portal
- Artifactory Edge API
- Command Line Interfaces (CLI) for Docker, Helm, or cURL.
You can set up automated downloads for any of the available repositories using the Set Me Up screen for the corresponding repository.
Accessing repositories on JFrog
- Navigate to the following URL using your browser:
https://pureengageuse1.jfrog.io/ui/login/ - Use your JFrog credentials from Genesys to log in.

Artifactory Edge contains the following six Genesys repositories:
| Name of repository | Type of artifacts |
|---|---|
| helm-multicloud-local | Helm charts local repository |
| files-multicloud-local | Configuration files local repository |
| docker-multicloud-local | Docker local repository |
| helm-multicloud | Helm virtual repository |
| files-multicloud | Files virtual repository |
| docker-multicloud | Docker virtual repository |
Once you log in, select Artifacts from the Artifactory Edge menu from the left pane. All repositories available for download from Genesys are listed.
You can expand each repository and navigate to any of the files within a folder to view its properties on the left pane. Note that as all available files are listed, you must navigate to the one you require based on the date and version number.

The Distribution view lists all files IPs and the files within each IP.

You can set up automated downloads for any repository using the Set Me Up screen for the corresponding repository.
Signing up for update notifications
When you log in for the first time, sign up for email notifications on any updates to the packages in the repository. Note that you can set this up later too. But we recommend you set this up in order to receive regular notifications on any updates to the packages.
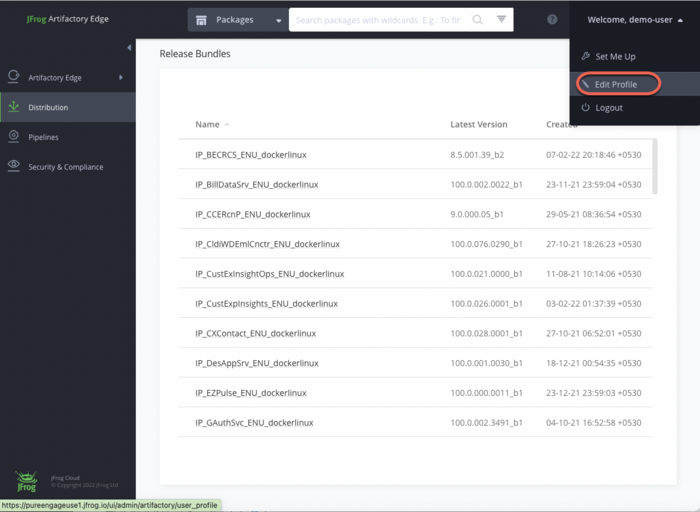
- Click on your username at the top right corner of the screen.
- Select the Edit Profile option from the drop-down.
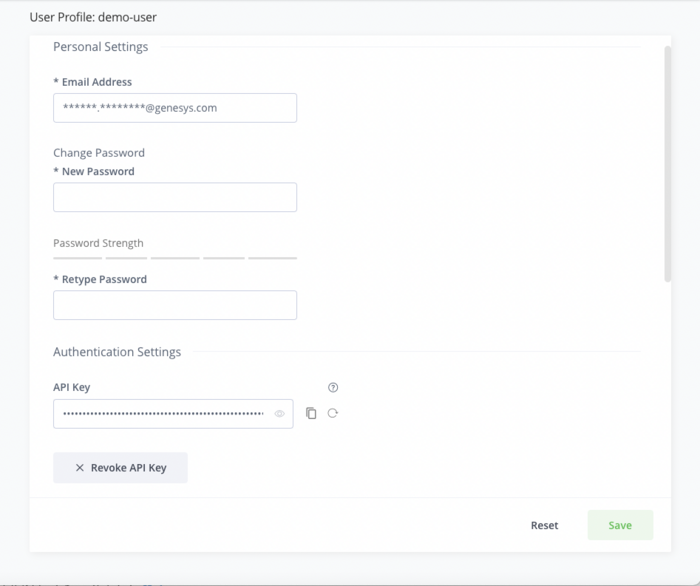
- Enter your password and click Unlock.

- Verify your email address. Update if required and click Save.
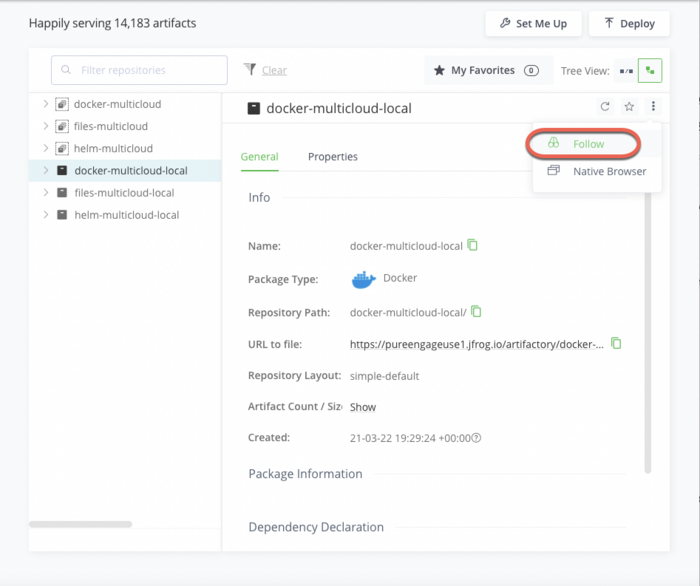
- Navigate to the repository for which you want update notifications.
- Click Actions at the top right corner, and then click Follow from the drop-down.
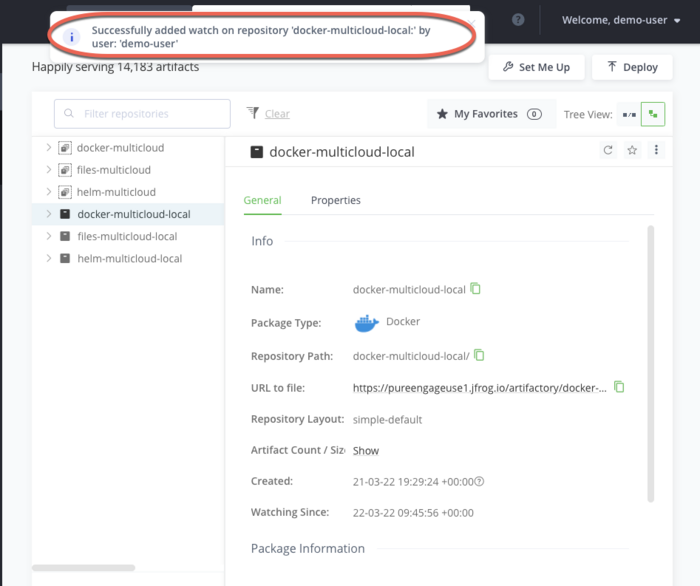
A confirmation message is displayed.


Setting up automated downloads
You can integrate with external tools to automate your downloads from JFrog. The Set Me Up screen provides quick access to information on how to configure your different clients to work with the corresponding repositories you have created.
- Select a repository and click Set Me Up on the top right corner to view its Set Me Up screen.


Downloading using Docker CLI
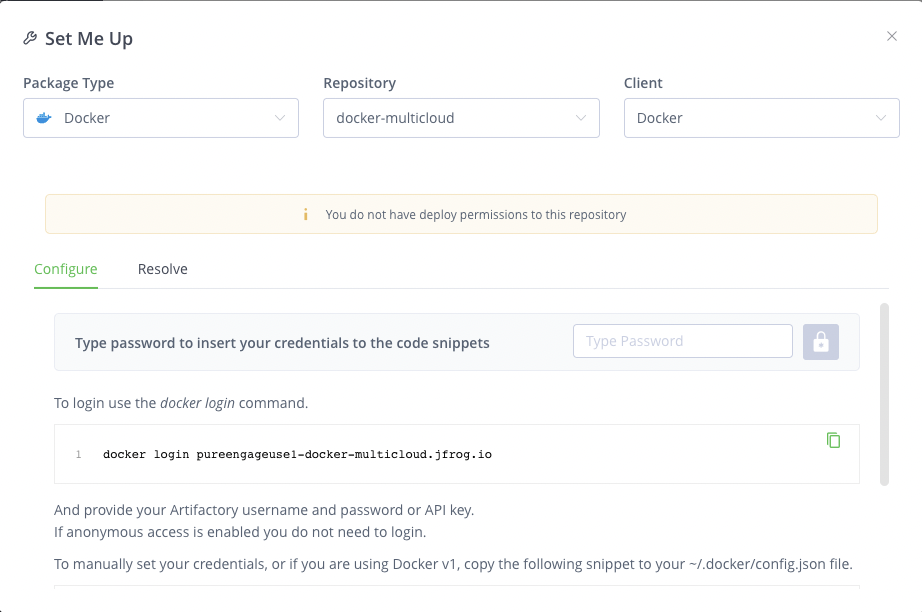
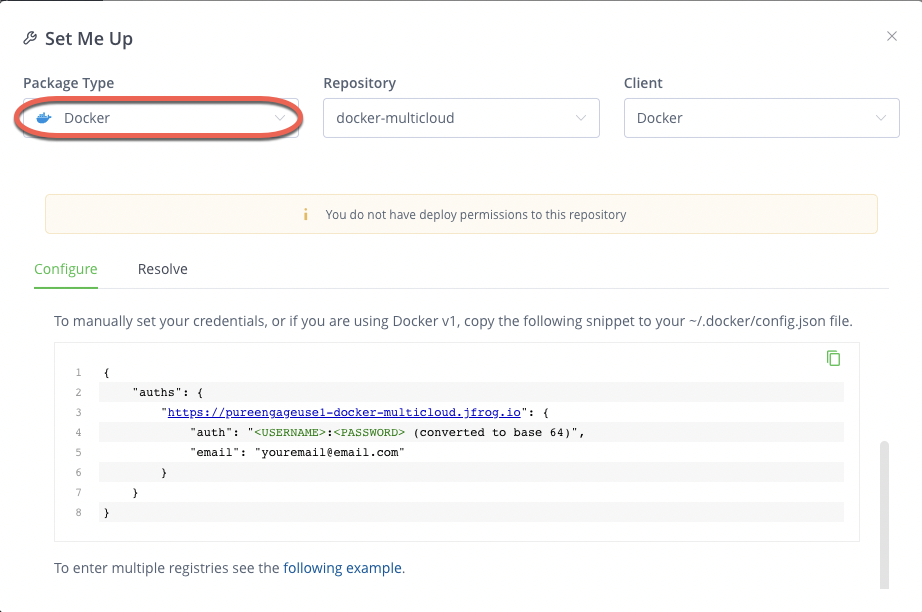
- On the Set Me Up screen, select Docker from the Package Type drop-down.
- Provide the following docker login command in the General section as shown below:
docker login pureengageuse1-docker-multicloud.jfrog.io - Provide your Artifactory username and password or the API key in the provided input field.ImportantYou can set up your API key from the Edit Profile option.
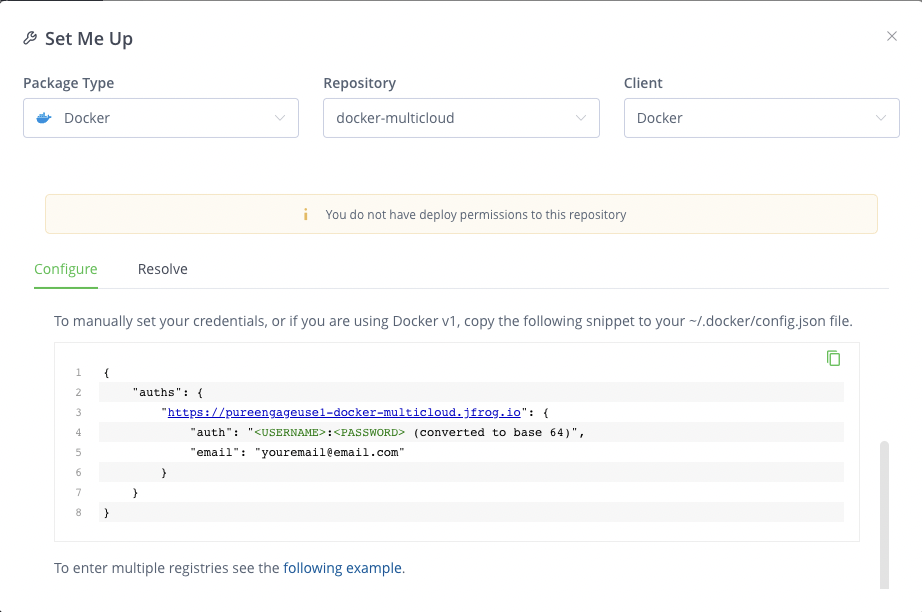
- To manually set your credentials, or if you are using Docker v1, copy the following snippet to your ~/.docker/config.json file:
{ "auths": { "https://pureengageuse1-docker-multicloud.jfrog.io" : { "auth": "<USERNAME>:<PASSWORD> (converted to base 64)", "email": "youremail@email.com" } } } - To pull an image use the docker pull command specifying the docker image and tag names:
docker pull pureengageuse1-docker-multicloud.jfrog.io/<DOCKER_REPOSITORY>:<DOCKER_TAG>ImportantTagging allows you to group related container images together.

Downloading using the Helm CLI
To work with Helm repositories, you must have a Helm client installed and configured before you perform the following steps:- On the SET ME UP screen, select Helm from the Package Type drop-down.
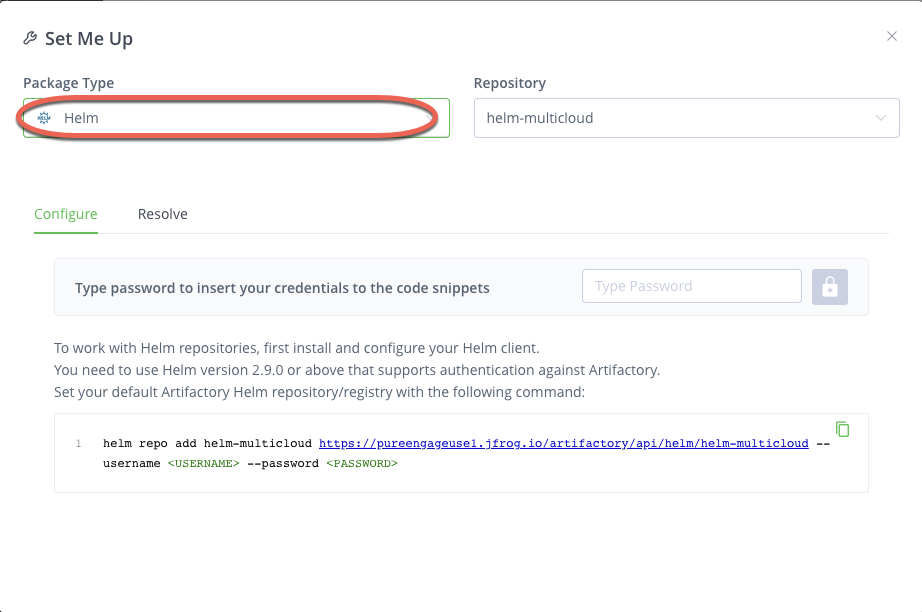
- In the General section, set up your default Artifactory Helm repository/registry with the following command:
helm repo add helm-multicloud https://pureengageuse1.jfrog.io/artifactory/helm-multicloud --username <USERNAME> --password <PASSWORD> - In the Resolve section, provide the following commands to install a Helm Chart from the selected repository using your Helm command line client:
helm repo update
helm install helm-multicloud/[chartName]

Downloading using cURL
You can also download a package from the Edge Artifactory by accessing its API through a cURL command.
For example,
curl -u<username>:<apitoken> -O "https://pureengageuse1.jfrog.io/artifactory/helm-multicloud/cxcontact-022.03.121.tgz".
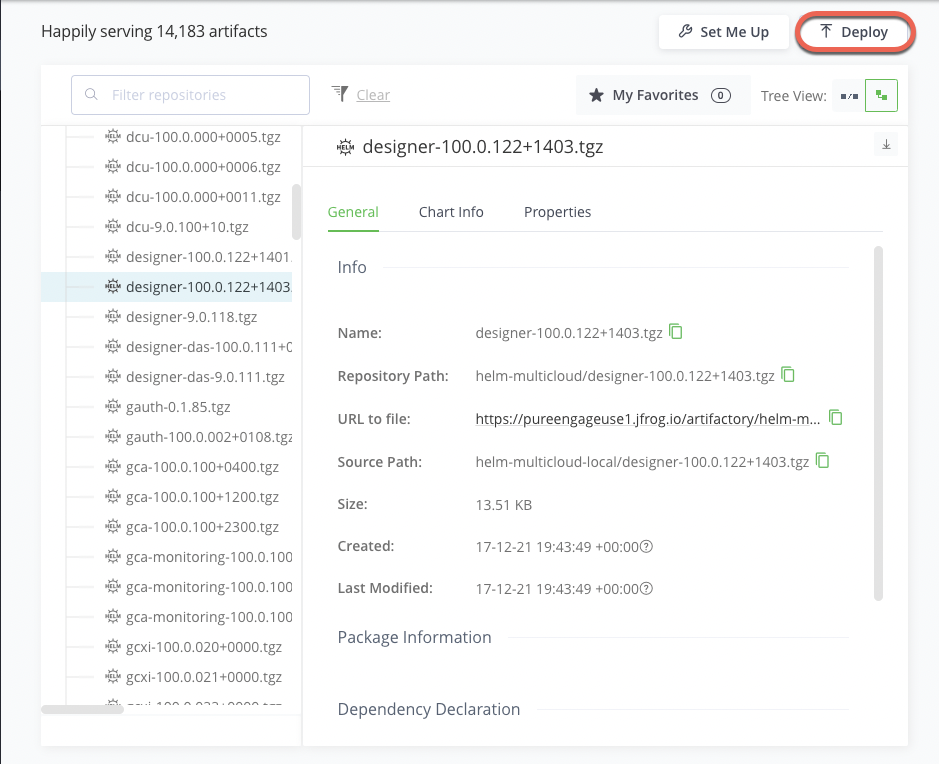
Downloading manually
JFrog Artifactory also supports manual downloads if you do not want to set up a CD pipeline.
- Select the required artifact using the Tree browsing method or the Simple browsing method.
- Click the Deploy option on the top right corner of the screen.

For more information on browsing through the artifacts in the Artifact Repository Browser, refer to the Browsing Artifacts topic on the JFrog documentation site.
Additional reading material
- JFrog Artifactory Edge (an Edge node) is an edition of JFrog Artifactory with features customized to serve the primary purpose of distributing software to a runtime system such as a data center, a point-of-sale, or even a mobile device.
For more information, refer to the JFrog Artifactory Edge topic on the JFrog documentation site. - Local repositories are physical, locally-managed repositories into which you can deploy artifacts. Whereas, a virtual repository (or repository group) aggregates several repositories with the same package type under a common URL.
For more information, refer to the Repository Management topic on the JFrog documentation site.