VAR report filters
Voice Application Reporting (VAR) helps you measure the efficiency of your contact center.
Of all the calls your center handled, how many reached a successful outcome—and how many did not? Why? Fewer failures quickly translates into better experiences for your customers.
In technical terms, VAR reports on the logical success and failure rates: for calls, and for the IVR Actions in an IVR Profile that you choose.
Filters focus on specific components
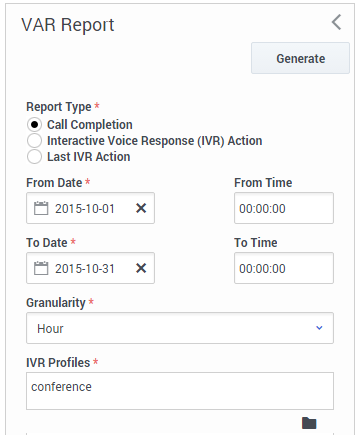
For example, the filters in the screen shot will deliver a report on number of calls completed (vs. total) for the month of October. The report will have 1-hour granularity.
Also on this page:
Report filter controls
These filters let you focus on the data that is important to you right now.
| Data Display Element | Purpose / Functionality |
|---|---|
| Report Type (mandatory) |
Select a report type from this list of radio buttons: Call Completion, IVR Action, Last IVR Action. |
| Query Data From (mandatory) |
Select a site to be the source of the report's data: Click the Browse button and select up to eight sites from the list of check boxes in the Sites panel to the right. |
| From Date | Select the report start date from a pop-up calendar. Your selection displays as YYYY-MM-DD. |
| From Time | Select the report start time from a drop-down menu. Choices are 15-minute increments from 00:00:00 to 23:45:00. Note: Enabled only if the From Date field is populated. |
| To Date | Select the report end date from a pop-up calendar. Your selection displays as YYYY-MM-DD. |
| To Time | Select the report end time from a drop-down menu. Choices are 15-minute increments from 00:00:00 to 23:45:00. Note: Enabled only if the From Date field is populated. |
| Granularity* | Select the increment for data display from this drop-down list: Month, Week, Day, Hour, Thirty minutes, Five minutes. |
| IVR Profiles | Click the Browse icon (a solid black folder) beneath this field, then select or clear the check box next to each IVR profile in the list in the data field to the right. |
| Tenants | Click the Browse icon (a solid black folder) beneath this field, then select or clear the check box next to each Tenant in the list in the data field to the right. |
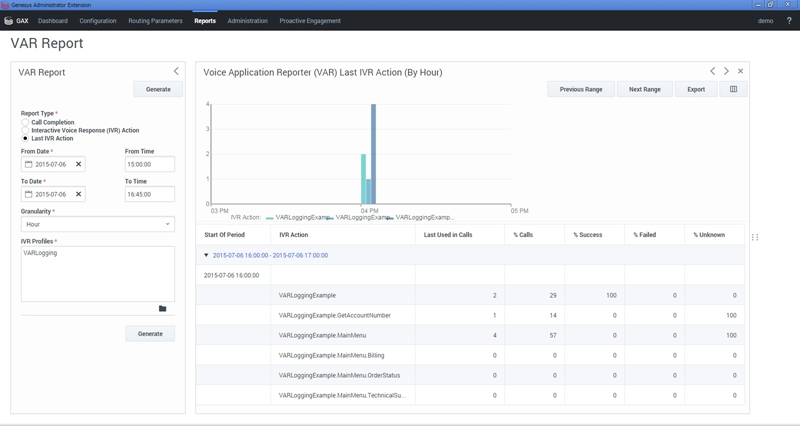
Sample VAR report


