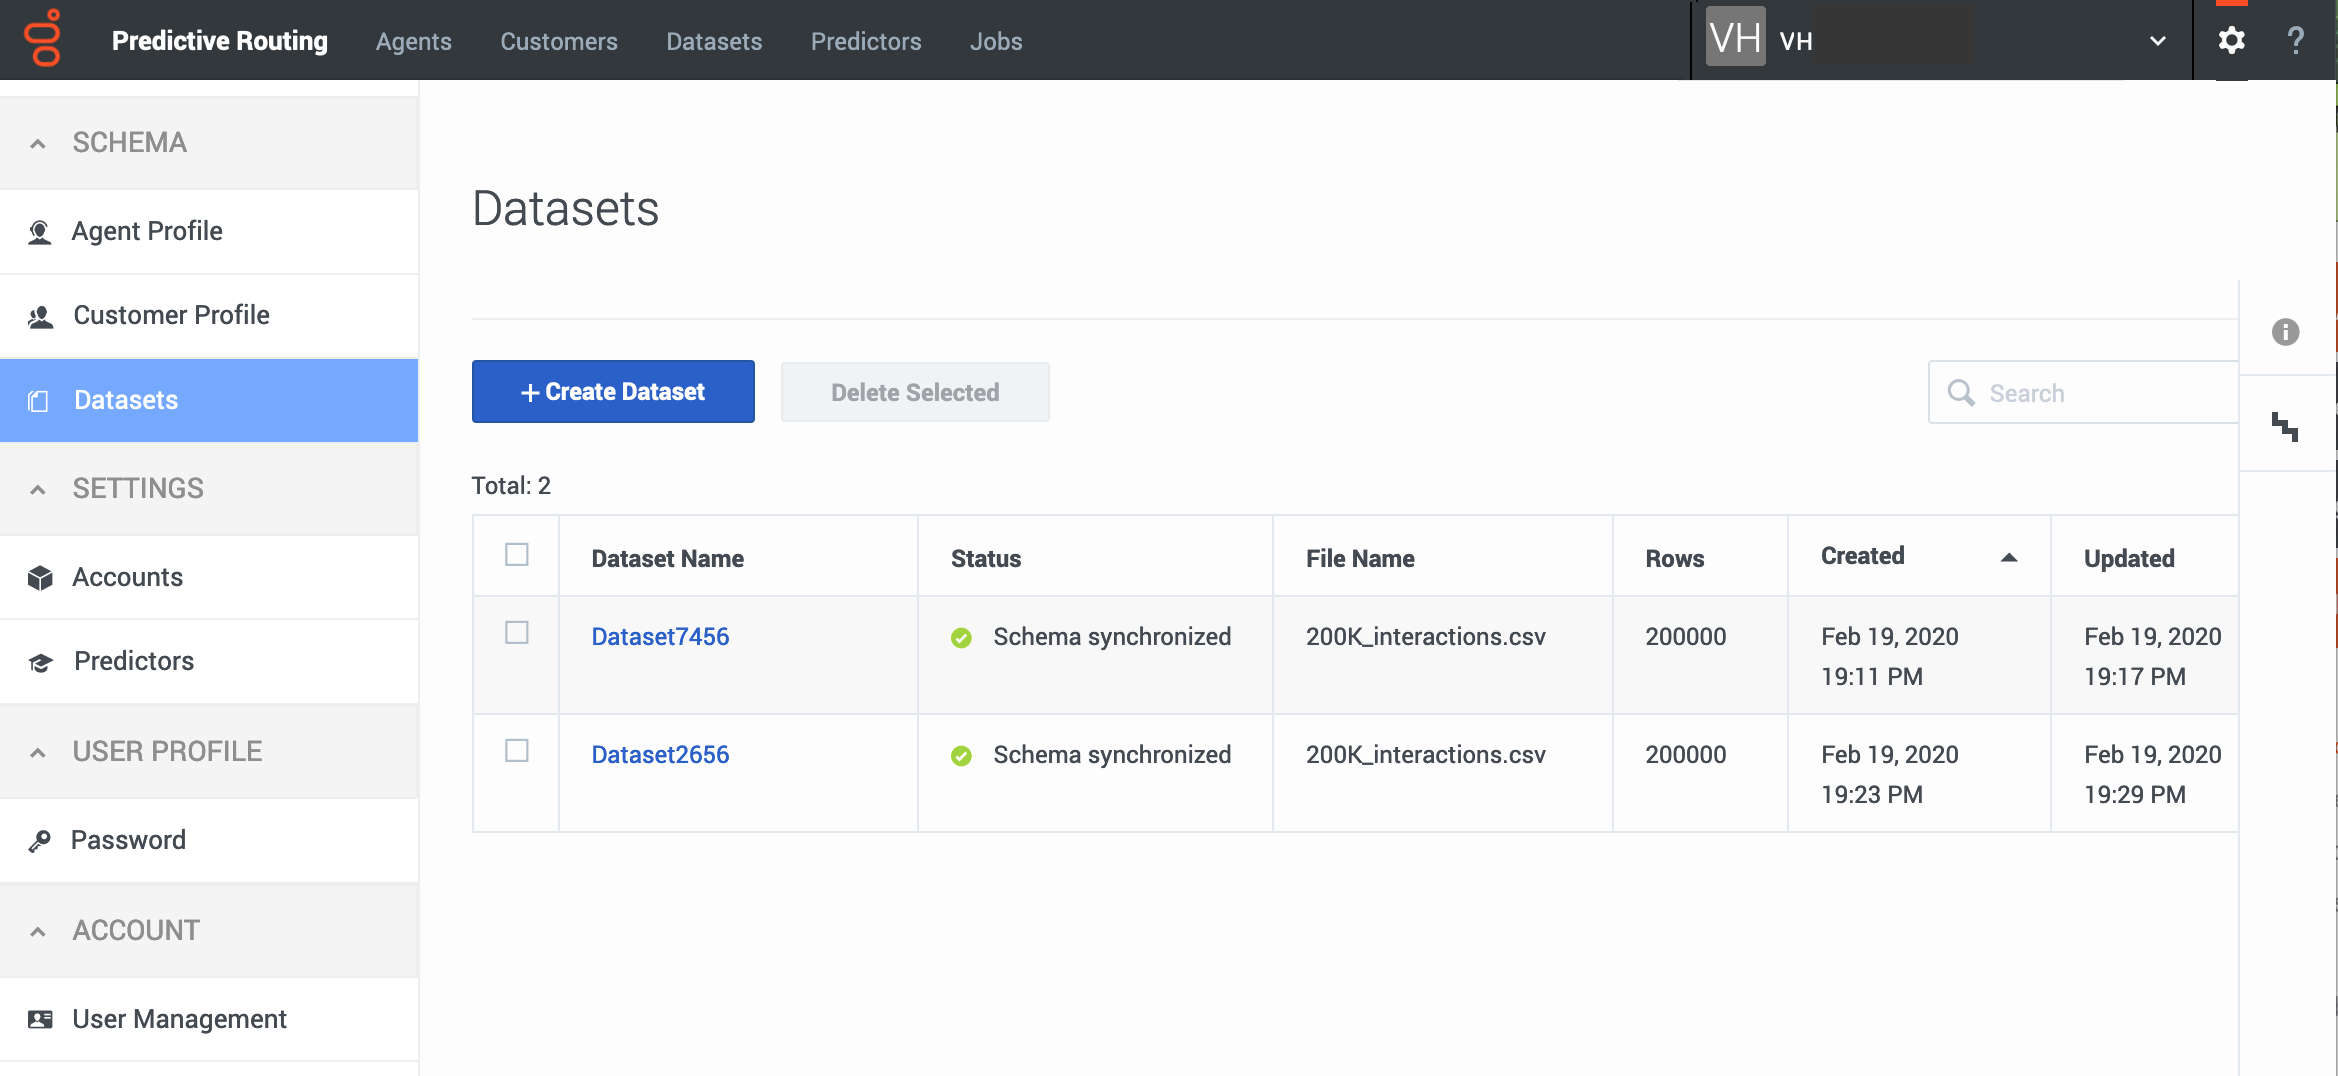
View uploaded datasets
View a list of all of your datasets, the schema for each individual dataset, and the uploads that make up each dataset.
WARNING: Although the Predictive Routing web application includes data upload functionality, its use is deprecated in favor of data uploads using Data Loader. If you upload from the GPR web application, note that using both Data Loader and the UI to upload data creates conflicts and presents a high risk of data corruption.
Open the datasets schema page
After you create a dataset, it appears in the table of datasets on the Settings: Datasets window.
- To delete a dataset from the list, select the check box in the leftmost column, then click Delete Selected.
- Click a dataset name to view that dataset and the individual uploads that are included in it.
View a dataset
When you click a dataset name in the Settings: Datasets list, the Dataset Schema tab is displayed. It shows all of the columns in your schema and includes the following information:
- Field Name and Type - the name of the column in the dataset and the datatype for that field.
- The fields specified as the Created At Timestamp field and the Interaction ID field are marked with green identifying boxes.
- Cardinality - the number of unique values that occur in that column. If there are more than 1000, this field shows the value as 1000+. Click the cardinality value to open a pop-up window that displays the first 1000 unique values that occur in the field.
- Missing Values and Invalid Values - The number of rows in which the value for that column is either missing or is in some way invalid. For example, there might be an alphabetical string in a numeric field. The number is followed by the percentage of rows with missing or invalid values. Use these fields to determine whether the data quality is satisfactory.
- Invalid values are discarded from the dataset. If the Created At Timestamp row contains missing or invalid values, the entire row is discarded
- PII - Anonymized fields have a check mark in this column.
You can sort the table by clicking any column header.
The Uploads tab
- Red numbers in the Missing Values and Invalid Values columns indicate gaps or inconsistencies in the data.
- The Status column provides a quick view of whether any CSV files have data issues that can cause problems when using the dataset for training Models or scoring agents. Hover your mouse over the status icon in a row to see a tooltip that explains the reason for the status.
- The way the status is calculated depends on the number of uploads you have done. For the first five uploads, the status is calculated based on a simple percentage of successfully-imported values. For the sixth and later uploads, the status is calculated relative to the average results of all uploads.
| Status | Uploads 1-5 | Uploads 6 and above
Calculated based on the average of the missing + invalid values for all previous uploads |
|---|---|---|
| Green checkmark icon = Success | Fewer than 5% of all values in the CSV file are missing or invalid. | From 0% to (average% + 3%) |
| Yellow caution icon = Warning | between 5% and 50% of the values are missing or invalid. | From (average% + 3%) to (average% + 13%) |
| Yellow half-circle icon = Warning | The CSV file contained more than 2.5 million rows, so that some rows were not uploaded. | The CSV file contained more than 2.5 million rows, so that some rows were not uploaded. |
| Red stop icon = Error | More than 50% of the values in the CSV file are missing or invalid. | From (average% + 13%) to 100% |
- Click the check box on the left side of the CSV row, and then click the trashcan icon that appears above the table.


