Genesys Co-browse sessions
Contents
Co-browse sessions are the interactions between customers and agents, where privacy and security are priorities.
A session is initiated when a customer requests to co-browse. The session stays idle until the agent joins, then the session is considered to be active. The session ends when one of the parties (the customer or the agent) exits. It is not possible to re-join a co-browse session. If one party exits accidentally, a new session must be initiated. An agent is limited to handling one co-browse session at a time.
Session identifiers
Each live session has an identifier that can be used to track the session. This session ID is a sequence of nine digits that is applicable only to live sessions.
Starting a session
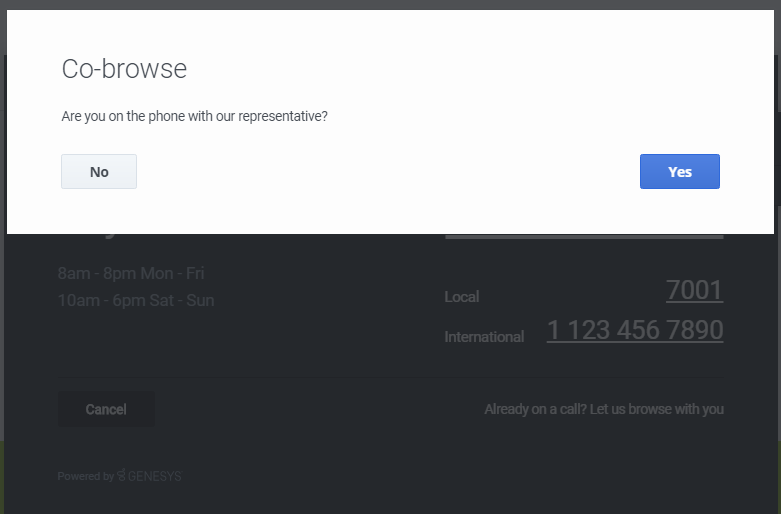
A co-browse session can only be initiated by a customer. An agent does not have the option or ability to send a co-browse request to a customer. This provides greater security to the customer. In order to initiate a co-browse session, the customer must already be engaged in an interaction with an agent, be it a voice call or a chat.
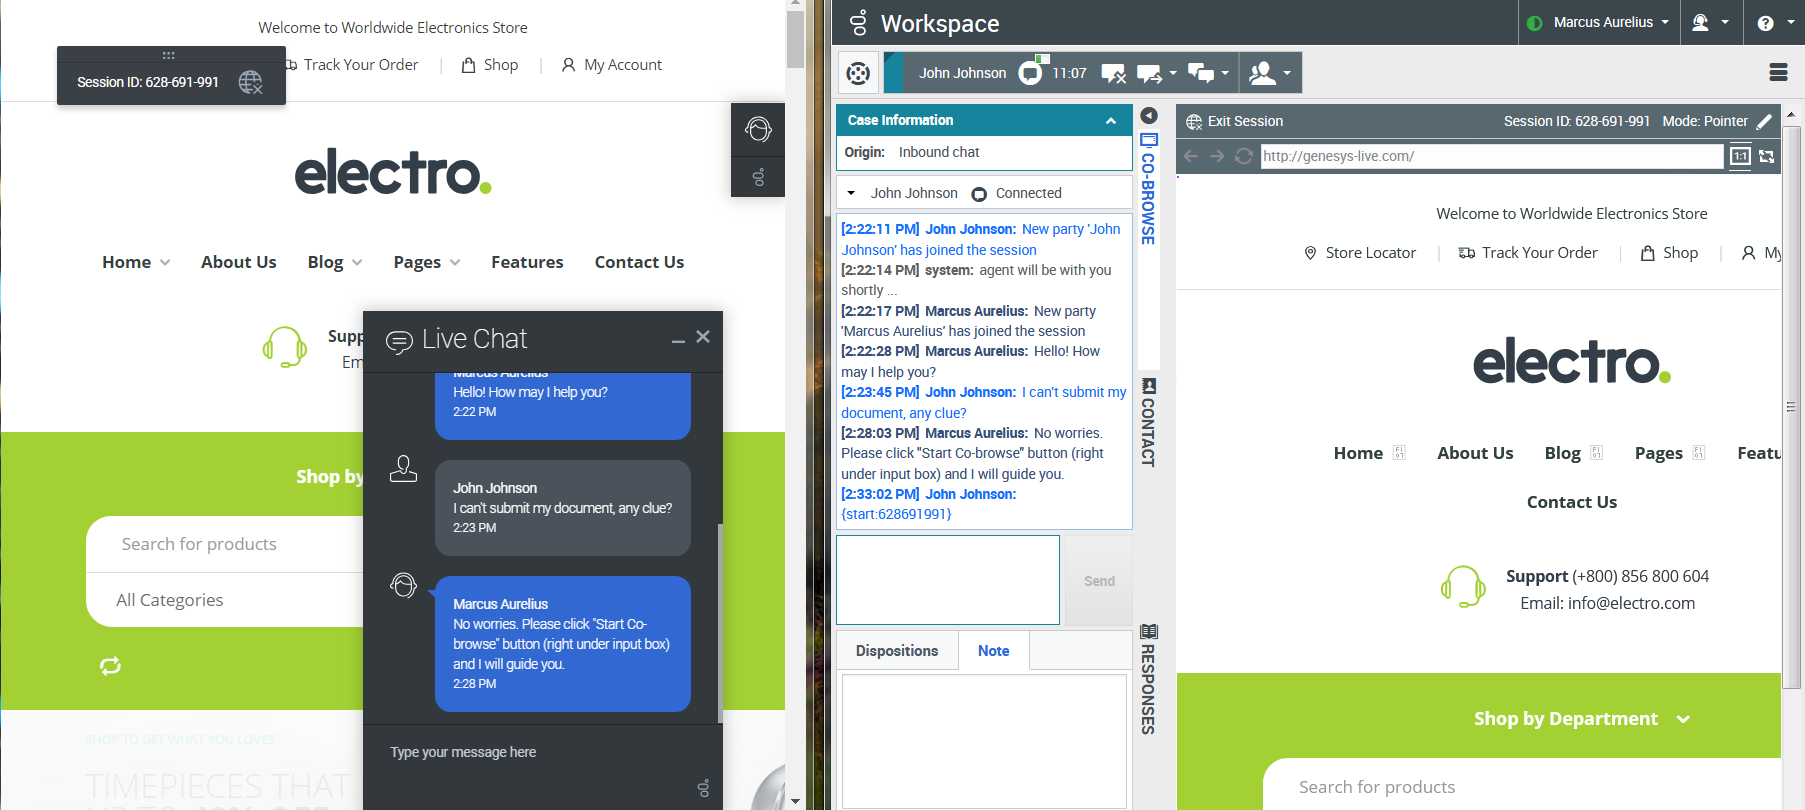
When the session is established, the agent's browser displays a view of the customer's browser. This view that the agent sees is loaded from Genesys Co-browse. The agent is not a client of the website. All actions taken by the agent are passed onto and "replayed" on the customer's side.
Starting a co-browse session from Genesys Widgets
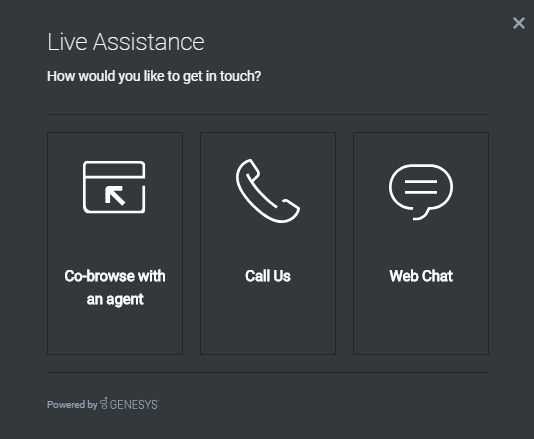
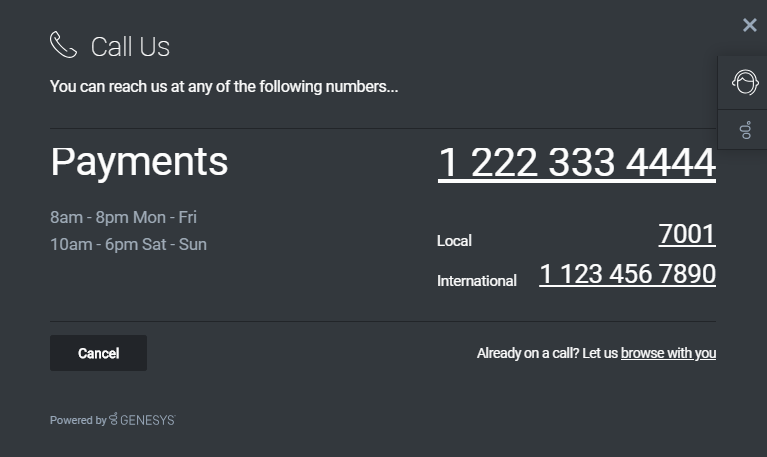
A customer initiates a co-browse session through a Genesys Widget integrated into the website. You can enable Genesys Co-browse in several Genesys Widgets.
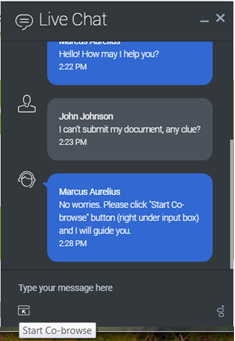
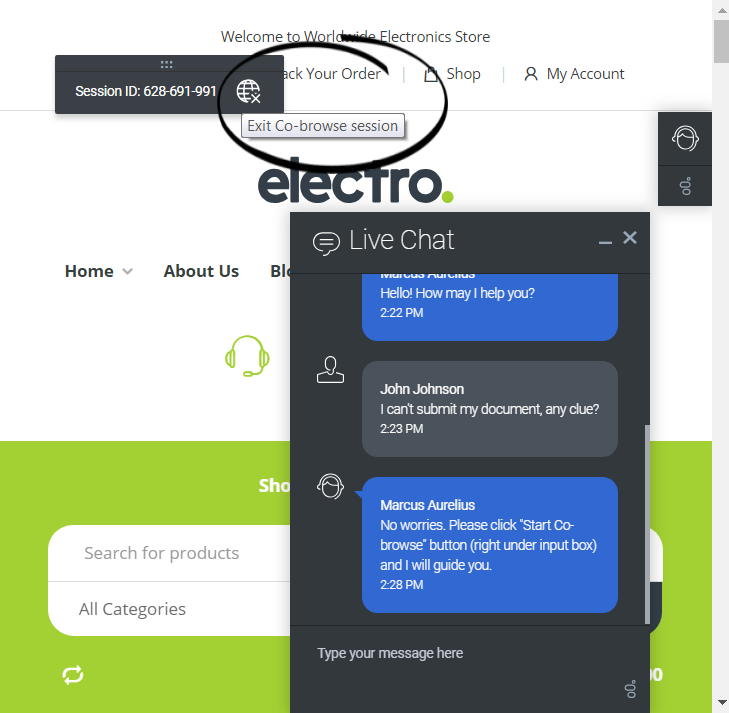
Here is an example of starting a co-browse session from the WebChat Widget.
Stopping a co-browse session from Genesys Widgets
Once a co-browse session has been established, both parties have the ability to terminate the session. At any time, either party may click the Exit Co-browse session icon next to the session ID. The agent can also exit by clicking Exit Session in Agent Workspace.
The other party will be notified that the session has ended, and the agent's browser will no longer display a view of the customer's browser. Also, if the primary interaction (chat or voice call) is terminated, the co-browse session terminates automatically. Sessions can also terminate due to inactivity, after a pre-configured timeout expires. Likewise, if the agent closes their browser, or navigates to a third-party website, the session will terminate if the agent does not return to the session page within the pre-configured timeout.
Once a session has been terminated, it cannot be reactivated. If the session was deactivated accidentally, a new session has to be initiated, with a new session identifier.Participating in a co-browse session
Once a co-browse session begins, the agent can use his or her mouse pointer to guide the customer through the web site. Agents start co-browse sessions in Pointer Mode. In Pointer Mode, the customer and the agent can see each other's mouse pointer but the agent can not enter any information into the web page, click buttons, or navigate the customer's browser. If the agent needs to enter information into the web page or to navigate the browser, he or she can send the customer a request to switch the co-browse session to Write Mode.
All actions (mouse clicks, key presses, and so on) are actually performed on the customer side. Any actions taken by the agent are sent to the customer's browser. This ensures a secure approach, as all browsing is done on one side—the customer's side. This approach also provides for greater performance and a more seamless customer experience. Each participant can see the other participant's mouse movements as well. This enables an agent to point to specific sections on the web page to help direct the customer through their task.
Restricting visibility of sensitive data
You can limit which fields are visible to and editable by the agent and which elements are controlled by agents. This configuration task is made much easier for you by using the Co-browse DOM Restrictions Editor.
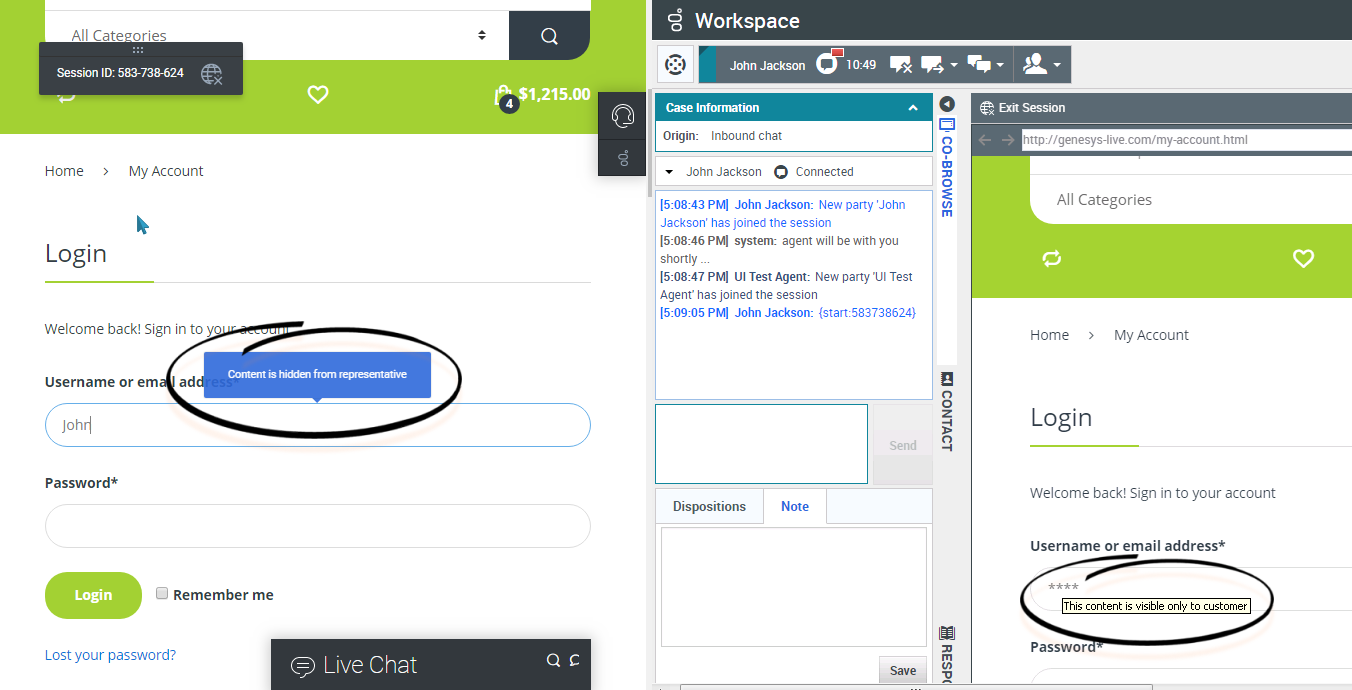
Some fields can have the data masked. For example, you might choose to hide the customer's user name, email address, password, Social Security information, and so on, from the agent. The end user can easily identify which information is hidden (data masked) from the agent. By default, all passwords are masked.
At the same time, control for some elements can be disabled. By default, all Submit buttons are deactivated for the agent. If he or she clicks on a Submit button, nothing happens. The customer always has permission to submit any web forms, just as they would while browsing normally.
