Know more about supported features
Contents
This section presents the Gplus Adapter supported features that require a more in-depth explanation.
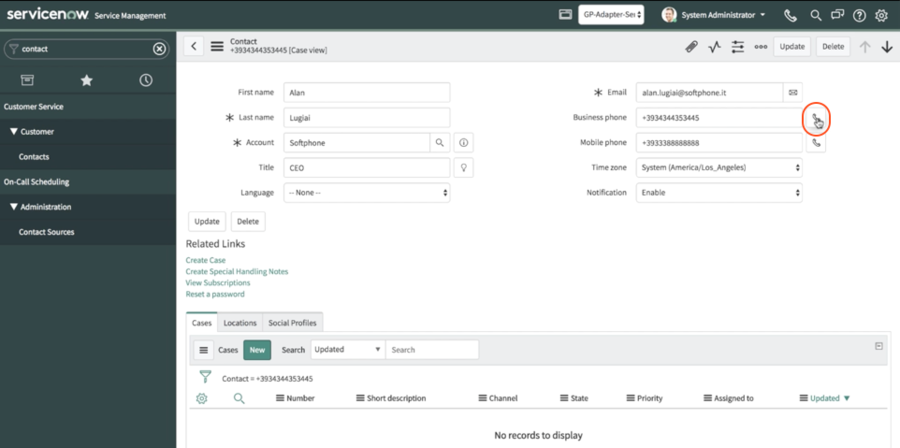
Click-to-call
With the click-to-call feature, all you need to perform is clicking the phone icon next to a telephone number within ServiceNow and the Gplus Adapter automatically dials it and starts the call. For example, you might search for a contact in ServiceNow and then click the related telephone number.
Screen pops
Screen pops are managed and customized by your contact center administrator. Here us how they typically work in an out-of-the-box scenario.
As soon as you accept an inbound call, a search based on the Automatic Number Identification (ANI) is automatically launched. If an associated contact is found, a screen pop is triggered inside ServiceNow: the contact detail form opens and displays the data to you. At the same time, an Activity History of type Call —containing all information about that inbound call — is automatically created in ServiceNow and made available on the related Contact landing page.
For outgoing calls, as soon as the interaction connects, you receive a ServiceNow screen pop with an outbound Activity History of type Call, which will also be available on the related Contact landing page.
To learn more about Activity Histories, you can read the following paragraph dedicated to the topic.
Activity history
The screen pop you receive when either accept or make a call equally creates a new Activity History of type Call. If the Automatic Number Identification (ANI) is recognized by ServiceNow, the Activity History is linked to the known Contact.
Take a look at the table below for an extensive list of ServiceNow fields included in each Activity and their description.
| ServiceNow Activity Field | Description |
|---|---|
| Subject | Interaction ID |
| Call From | Inbound call: contact from which originated the call
Outbound call: agent making the call |
| Call To | Inbound call: agent accepting the call
Outbound call: contact receiving the call |
| Phone Number | The telephone number from which the call originated |
| Direction | Type of call (inbound, outbound or internal) |
| Duration | Length of the call in minutes and seconds (updated when the call ends) |
| Description | Comments and notes added by the involved agent(s) |
The Gplus Adapter allows investigating the content of the Genesys interaction directly from the Activity automatically created.
If you want to learn more about screen pops, check the previous paragraph dedicated to the topic.
Performance Tracker
While the Gplus Adapter's main view allows you to access the most common tools that you use every day, such as handling calls and changing your status, there is a supported feature allowing you to monitor and track your performance: the Performance Tracker.
By default, you can reach the Tracker by clicking the three-dots icon on the main bar and then selecting Performance. However, this view can be customized by your system administrator.
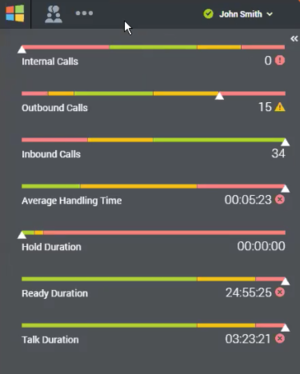
The Performance Tracker view displays a list of your Key Performance Indicators (KPIs), set up by your system administrator.
Your KPIs are shown as tri-colored bars with a white triangle indicating your standing. The name of the KPIs appears exactly below the bar. If you are not satisfying one of your KPIs, the white arrow points to yellow and red. When you are fulfilling them, the white arrow moves to green.
Each statistic also displays the statistic value under the colored bar to indicate what your current value is for that data point. If you receive any warnings, they are presented next to your statistic value in form of icons:
My Channels
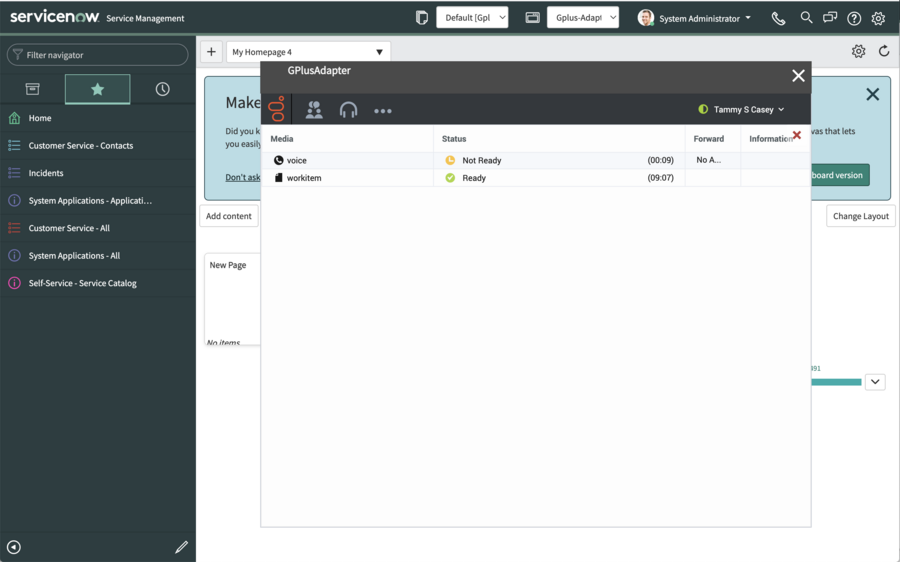
Clicking on the headset icon in the GPlus toolbar will open the my channels view as shown in the following picture:
It is possible to change the status of each channel independently. You can just right click with your mouse on a single channel and select the status for that channel.
My History
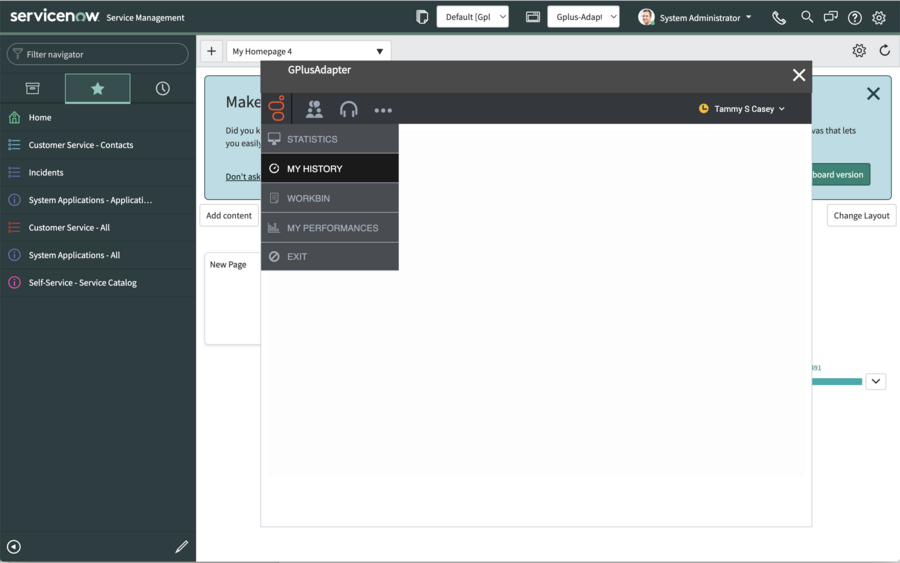
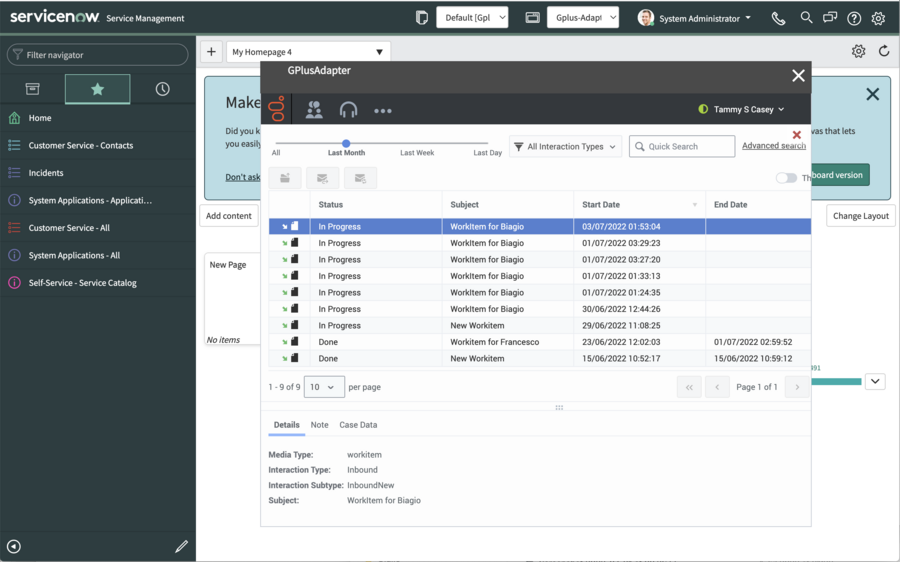
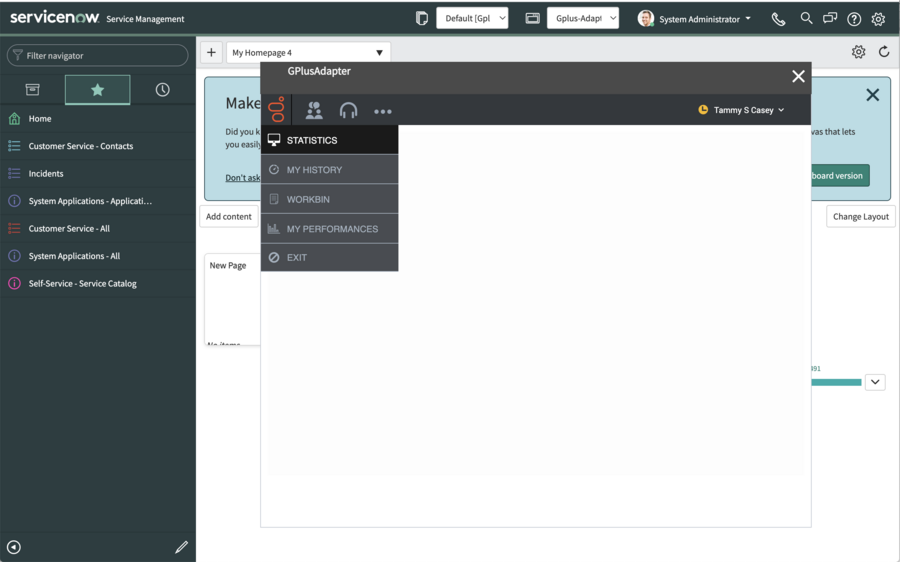
Clicking on the three dots icon in the GPlus toolbar will open a menu showing additional items. In the menu you can select “My History”:
The history view will be opened showing the last interactions that you have handled with GPlus.
My Statistics
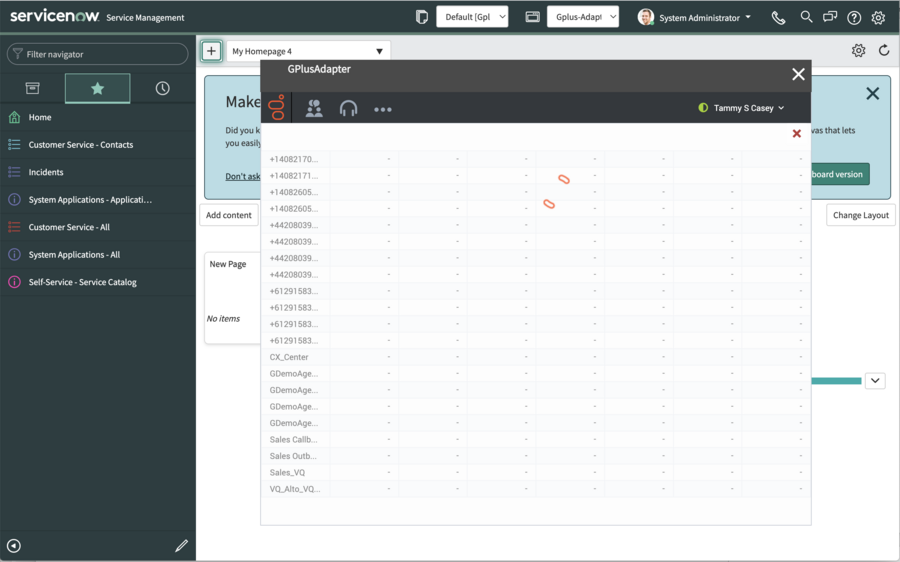
Clicking on the three dots icon in the GPlus toolbar will open a menu showing additional items. In the menu you can select “My Statistics”:
The statistic view will show the contact center performance. Your Administrator can configure the object available in the view.
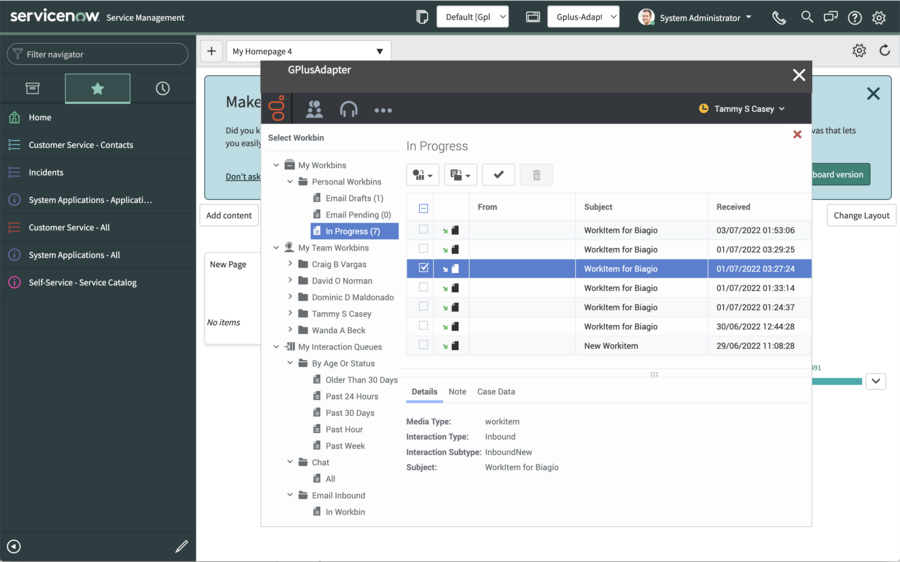
Workbins
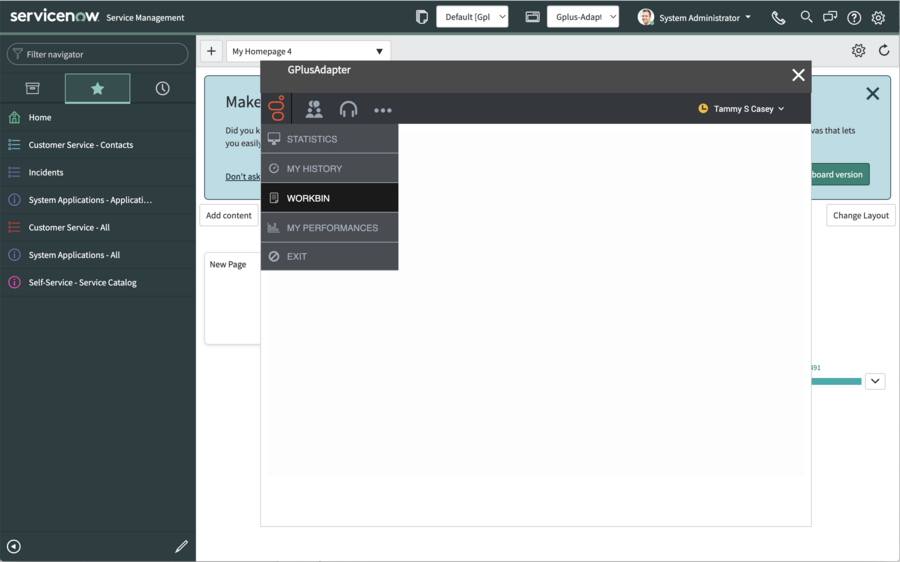
Clicking on the three dots icon in the GPlus toolbar will open a menu showing additional items. In the menu you can select “My WorkBins”:
The workbin view will show the interactions in progress saved in your workbins:

