View, edit, and create Genesys Engage cloud Email boxes
From Genesys Documentation
This topic is part of the manual Intelligent Workload Distribution Administrator's Guide for version Current of Intelligent Workload Distribution.
Contents
Display and change details of all Genesys Engage cloud Email boxes ("mailboxes") and add new ones.
Related documentation:
Before you start
- The Mailboxes feature is displayed only if Genesys has provisioned the relevant email service.
- You can add up to 100 mailboxes per tenant.
- Access privileges control access to this feature.
- Auto-acknowledgement emails are configured and stored in a Standard Response Library (SRL). For this you need either eServices Manager or Designer, depending on your implementation.
View all mailboxes
In the Configuration tab of Workload Manager, click the email tool in the left-hand toolbar to display all configured mailboxes. From this summary screen you can:
- Enable/disable all mailboxes.
- Search the list of mailboxes.
- Edit, copy and delete mailboxes.
- Add a new mailbox.
View or edit a Gmail or Office365 mailbox
From the Mailboxes screen:
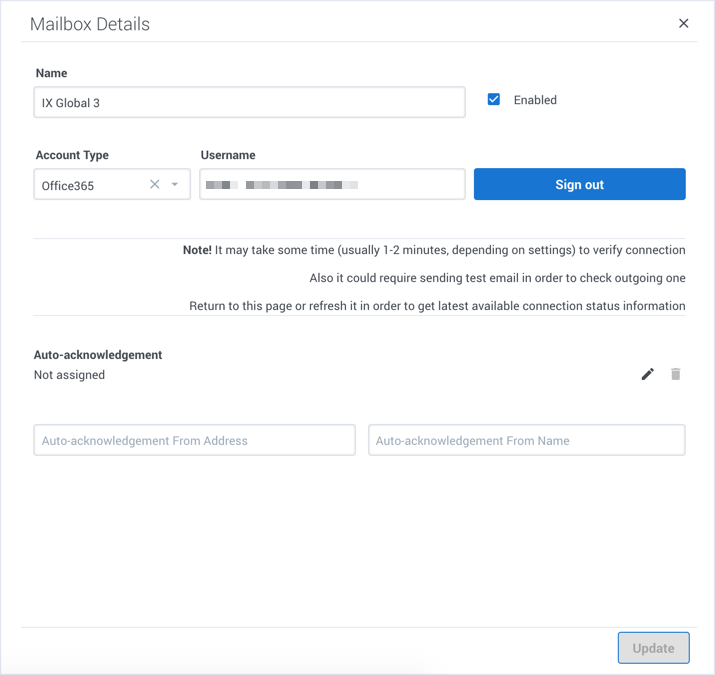
- Click the mailbox (of type Gmail or Office365) you want to view or edit. A summary of the mailbox details appears (blank for a new mailbox).
- Optionally, sign in to the mailbox.
- View and/or edit the mailbox details.
- Optionally, add an auto-acknowledgement email, and address and sender details.
- Click Update to save any changes.
- Optionally, sign out.
Add a Gmail or Office365 mailbox
From the Mailboxes screen:
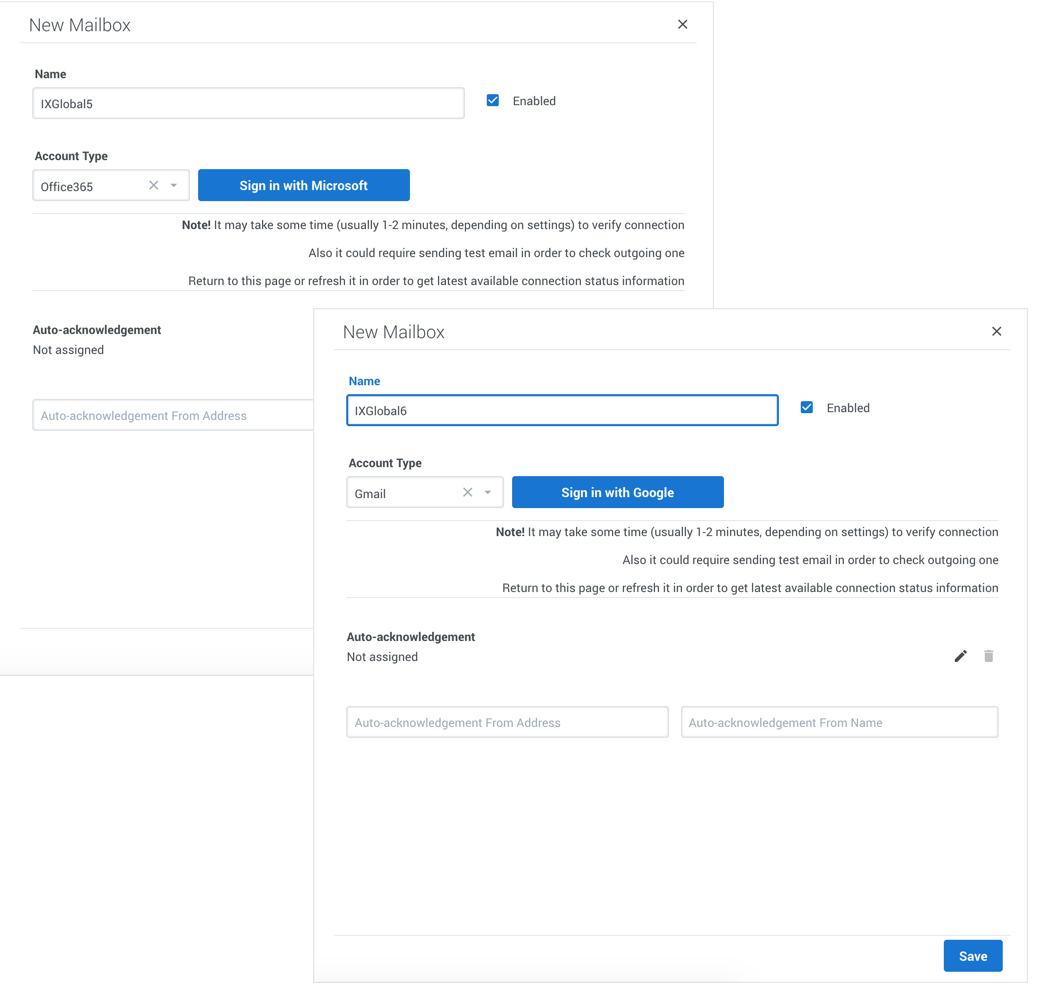
- Click Add Mailbox.
- In the Account Type drop-down menu, select Gmail for a Gmail account, or Office365 for an Office365 account.
- In the Name field add the name of the new mailbox. At this stage you can save the new mailbox without any further changes or signing in.
- Optionally, sign in, by clicking the relevant Sign in with... button.
- Follow any authentication prompts that may be displayed. Once you are successfuly signed in, your new mailbox is automatically saved, and you can edit its details.
- Optionally, add an auto-acknowledgement email, and address and sender details.
- Click Update to save any changes.
- Optionally, sign out.
View, edit, or add generic mailbox
From the Mailboxes screen:
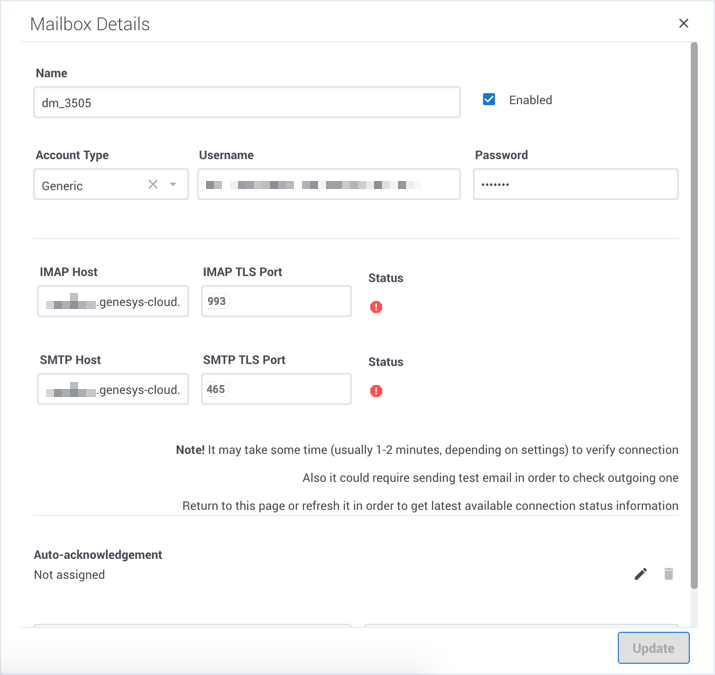
- Click the mailbox (of type Generic) you want to view or edit, or click Add Mailbox to create a new one.
- A summary of the mailbox details appears (blank for a new mailbox).
- Select Generic for the Account Type.
- Complete or edit the details for the mailbox using the field descriptions on this page.
- Click Update to save changes.
Set up auto-acknowledgement emails
There are two ways to configure auto-acknowledgement emails:
- At the Mailbox level, using the auto-acknowledgement feature.
- At the IWD Category level.
Note: If auto-acknowledgements are configured at the mailbox level, configurations at the IWD Category level are ignored.
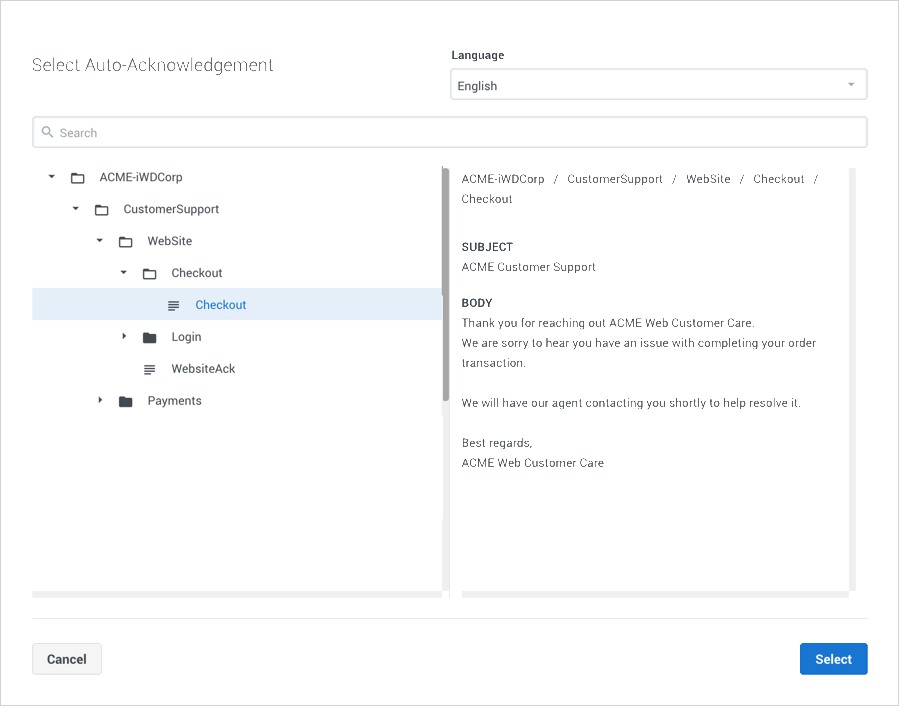
To select or change an auto-acknowledgement email:
- Click the pencil icon to the right of the Auto-acknowledgement field. This displays the Standard Response Library (SRL) category tree.
- Navigate the tree, select an item and click it. Note that SRL contents must not have field codes configured.
Field descriptions
Comments or questions about this documentation? Contact us for support!


