Create and manage custom agent states
From Genesys Documentation
This topic is part of the manual Manage your Contact Center in Agent Setup for version Current of Agent Setup.
Custom agent states enable you to tailor agent states to fit your business needs.
Related documentation:
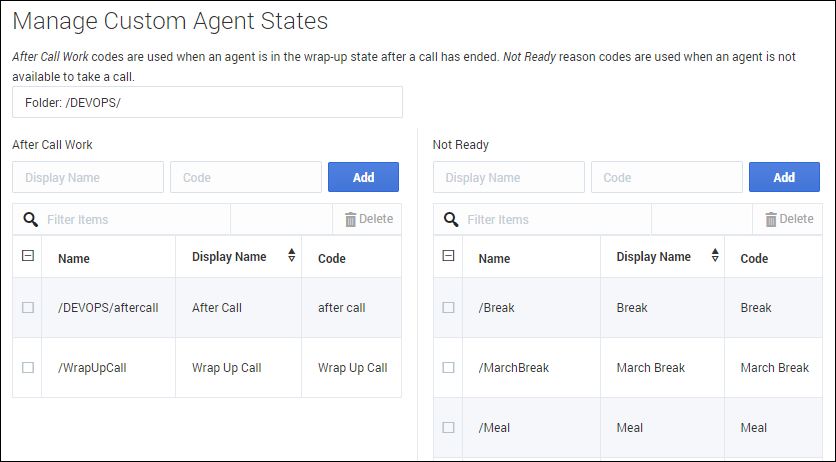
On the Custom Agent States tab, you can add custom agent states that an agent can select for After Call Work and Not Ready reasons.
You can organize custom agent states into folders. When you select the Folder option, a drop-down list box is displayed where you can select a folder or click the add folder icon ![]() to create a new folder.
to create a new folder.
Comments or questions about this documentation? Contact us for support!

